文章目录
- 一、前言
- 二、安装
- 2.1 基本要求
- 2.2 Install Segment Anything
- 三、代码使用示例
- 3.1 Automatically generating object masks with SAM
- 3.2 Environment Set-up
- 3.3 显示标注
- 3.4 图像示例
- 3.5 Automatic mask generation
- 3.6 Automatic mask generation options
一、前言

目前代码已经开源!

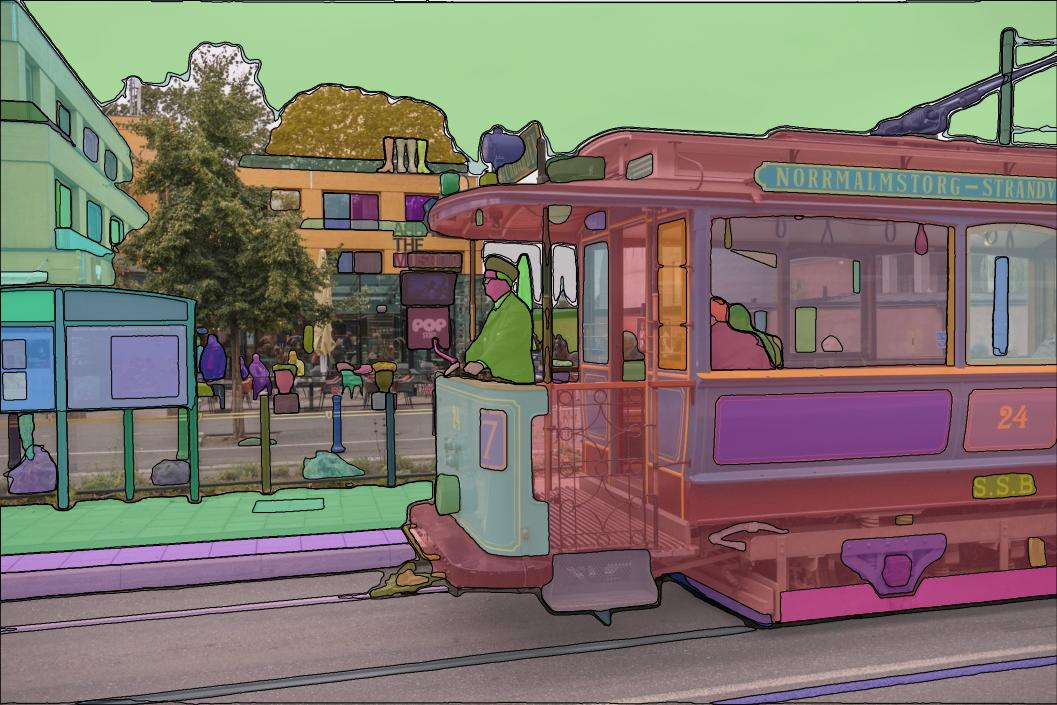
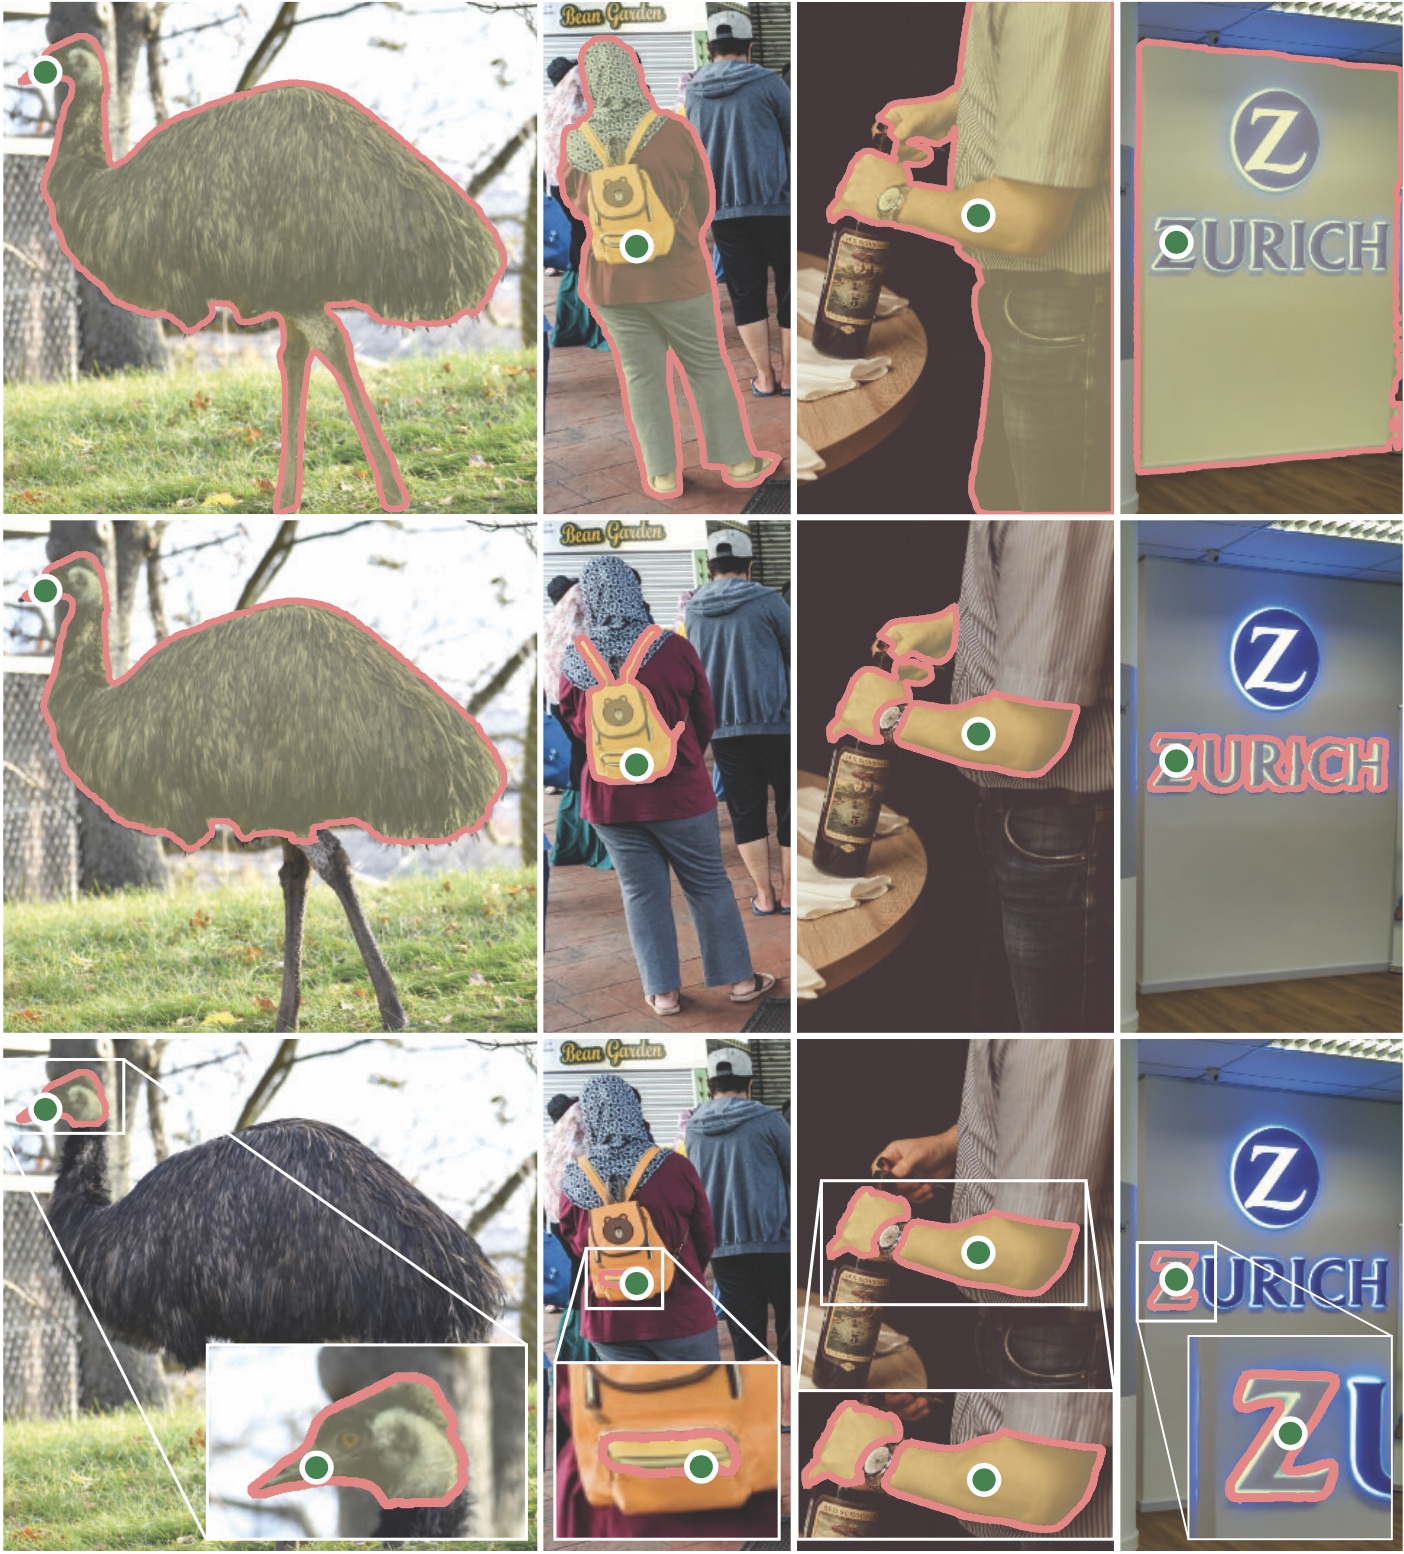
Segment Anything Model(SAM)可以从输入提示(如点或框)生成高质量的物体遮罩,并且可以用于为图像中的所有物体生成遮罩。它在一个包含1100万张图像和10亿个遮罩的数据集上进行了训练,并且在各种分割任务上表现出了强大的零样本性能。
二、安装
2.1 基本要求
该代码要求使用 python>=3.8,并且需要安装 pytorch>=1.7 和 torchvision>=0.8。请按照以下说明安装 PyTorch 和 TorchVision 的依赖项。强烈建议同时安装支持 CUDA 的 PyTorch 和 TorchVision。
以下是安装步骤的一般指南:
- 安装 Python 3.8+:确保您的系统已安装 Python 3.8 或更高版本。您可以从 Python 官方网站(https://www.python.org/downloads/)下载并安装适用于您的操作系统的 Python 版本。
- 安装 PyTorch 和 TorchVision:按照以下步骤安装 PyTorch 和 TorchVision:
访问 PyTorch 官方网站(https://pytorch.org/)并根据您的系统选择适当的安装选项。
根据提供的安装说明,使用 pip 或 conda 安装 PyTorch 和 TorchVision。例如,如果您使用 pip,可以执行以下命令安装 PyTorch:
pip install torch>=1.7 torchvision>=0.8
- 安装 CUDA(可选):如果您的系统支持 NVIDIA GPU 并且您希望使用 CUDA 加速,建议安装 CUDA 并配置 PyTorch 和 TorchVision 以支持 CUDA。您可以从 NVIDIA 官方网站(https://developer.nvidia.com/cuda-downloads)下载适用于您的系统的 CUDA 版本,并按照提供的说明进行安装。
请注意,上述步骤提供了一般的安装指南。具体的安装步骤可能因您的操作系统、Python 版本和其他依赖项而有所不同。建议参考 PyTorch 和 TorchVision 的官方文档和安装说明,以确保正确地安装和配置这些库。
2.2 Install Segment Anything
pip install git+https://github.com/facebookresearch/segment-anything.git
若是这个运行失败,选择下面的方式:
- 第一步:
git clone git@github.com:facebookresearch/segment-anything.git
- 第二步:
cd segment-anything
- 第三步:
pip install -e .
便可顺利安装成功!
以下是用于遮罩后处理、以 COCO 格式保存遮罩、示例笔记本和以 ONNX 格式导出模型的可选依赖项。同时,运行示例笔记本还需要安装 jupyter。
pip install opencv-python pycocotools matplotlib onnxruntime onnx
- For mask post-processing: You may need to install additional libraries or packages depending on the specific post-processing techniques used in the code. It is recommended to refer to the code documentation or instructions for the required dependencies.
- For saving masks in COCO format: If you intend to save the generated masks in COCO format, you will need to install the pycocotools library. You can install it using pip:
pip install pycocotools
- For example notebooks: To run the example notebooks, you need to have Jupyter Notebook installed. Jupyter Notebook allows you to run interactive code cells and view the notebook content. You can install it using pip:
pip install jupyter
- For exporting the model in ONNX format: If you want to export the model in ONNX format, you will need to install the onnx and onnxruntime packages. You can install them using pip:
pip install onnx onnxruntime
Please note that the specific dependencies may vary depending on the code and its requirements. It is recommended to refer to the code documentation or instructions for the complete list of dependencies and installation instructions.
三、代码使用示例
3.1 Automatically generating object masks with SAM

from IPython.display import display, HTML
display(HTML(
"""
<a target="_blank" href="https://colab.research.google.com/github/facebookresearch/segment-anything/blob/main/notebooks/automatic_mask_generator_example.ipynb"><img src="https://colab.research.google.com/assets/colab-badge.svg" alt="Open In Colab"/>
</a>
"""
))
上述代码片段是用于在Jupyter Notebook或支持HTML输出的环境中显示一个带有Colab徽章的链接。当点击该链接时,它将在Colab中打开名为"automatic_mask_generator_example.ipynb"的笔记本。
要使用此代码片段,请确保已经安装并正确配置了IPython和Jupyter Notebook。将代码片段放置在代码单元格中并运行,您将在输出中看到一个带有Colab徽章的链接,点击该链接即可在Colab中打开相应的笔记本。

3.2 Environment Set-up
using_colab = False
if using_colab:import torchimport torchvisionprint("PyTorch version:", torch.__version__)print("Torchvision version:", torchvision.__version__)print("CUDA is available:", torch.cuda.is_available())import sys!{sys.executable} -m pip install opencv-python matplotlib!{sys.executable} -m pip install 'git+https://github.com/facebookresearch/segment-anything.git'!mkdir images!wget -P images https://raw.githubusercontent.com/facebookresearch/segment-anything/main/notebooks/images/dog.jpg!wget https://dl.fbaipublicfiles.com/segment_anything/sam_vit_h_4b8939.pth
如果在本地使用 Jupyter 运行,请首先根据存储库中的安装说明在您的环境中安装segment_anything。
如果在 Google Colab 上运行,请在下方将 using_colab=True 设置为 True 并运行该单元格。在 Colab 中,请确保在“编辑”->“笔记本设置”->“硬件加速器”下选择了“GPU”。
3.3 显示标注
import numpy as np
import torch
import matplotlib.pyplot as plt
import cv2
def show_anns(anns):if len(anns) == 0:returnsorted_anns = sorted(anns, key=(lambda x: x['area']), reverse=True)ax = plt.gca()ax.set_autoscale_on(False)img = np.ones((sorted_anns[0]['segmentation'].shape[0], sorted_anns[0]['segmentation'].shape[1], 4))img[:,:,3] = 0for ann in sorted_anns:m = ann['segmentation']color_mask = np.concatenate([np.random.random(3), [0.35]])img[m] = color_maskax.imshow(img)
这段代码是一个用于显示标注(annotations)的函数 show_anns。下面是对代码的解读:
- 函数接受一个标注列表 anns 作为参数。
- 首先,检查标注列表的长度,如果列表为空,则直接返回。
- 根据标注的面积对标注进行排序,从大到小,使用 sorted 函数和 key 参数来实现排序。排序后的结果保存在 sorted_anns 列表中。
- 创建一个坐标轴对象 ax,并关闭其自动缩放功能。
- 创建一个图像数组 img,形状与最大标注的分割形状相同,并初始化为全1,表示完全透明。
- 遍历排序后的标注列表,对每个标注进行处理:
获取标注的分割掩码 m。
生成一个随机的颜色掩码 color_mask,由3个随机数和一个透明度值组成。
将颜色掩码应用到图像数组的相应位置上,使得标注区域显示为对应的颜色。
- 使用 ax.imshow 函数显示图像数组 img,即显示了带有颜色标注的图像。
总体来说,该函数的作用是根据给定的标注信息,在图像上显示带有不同颜色的标注区域。
3.4 图像示例
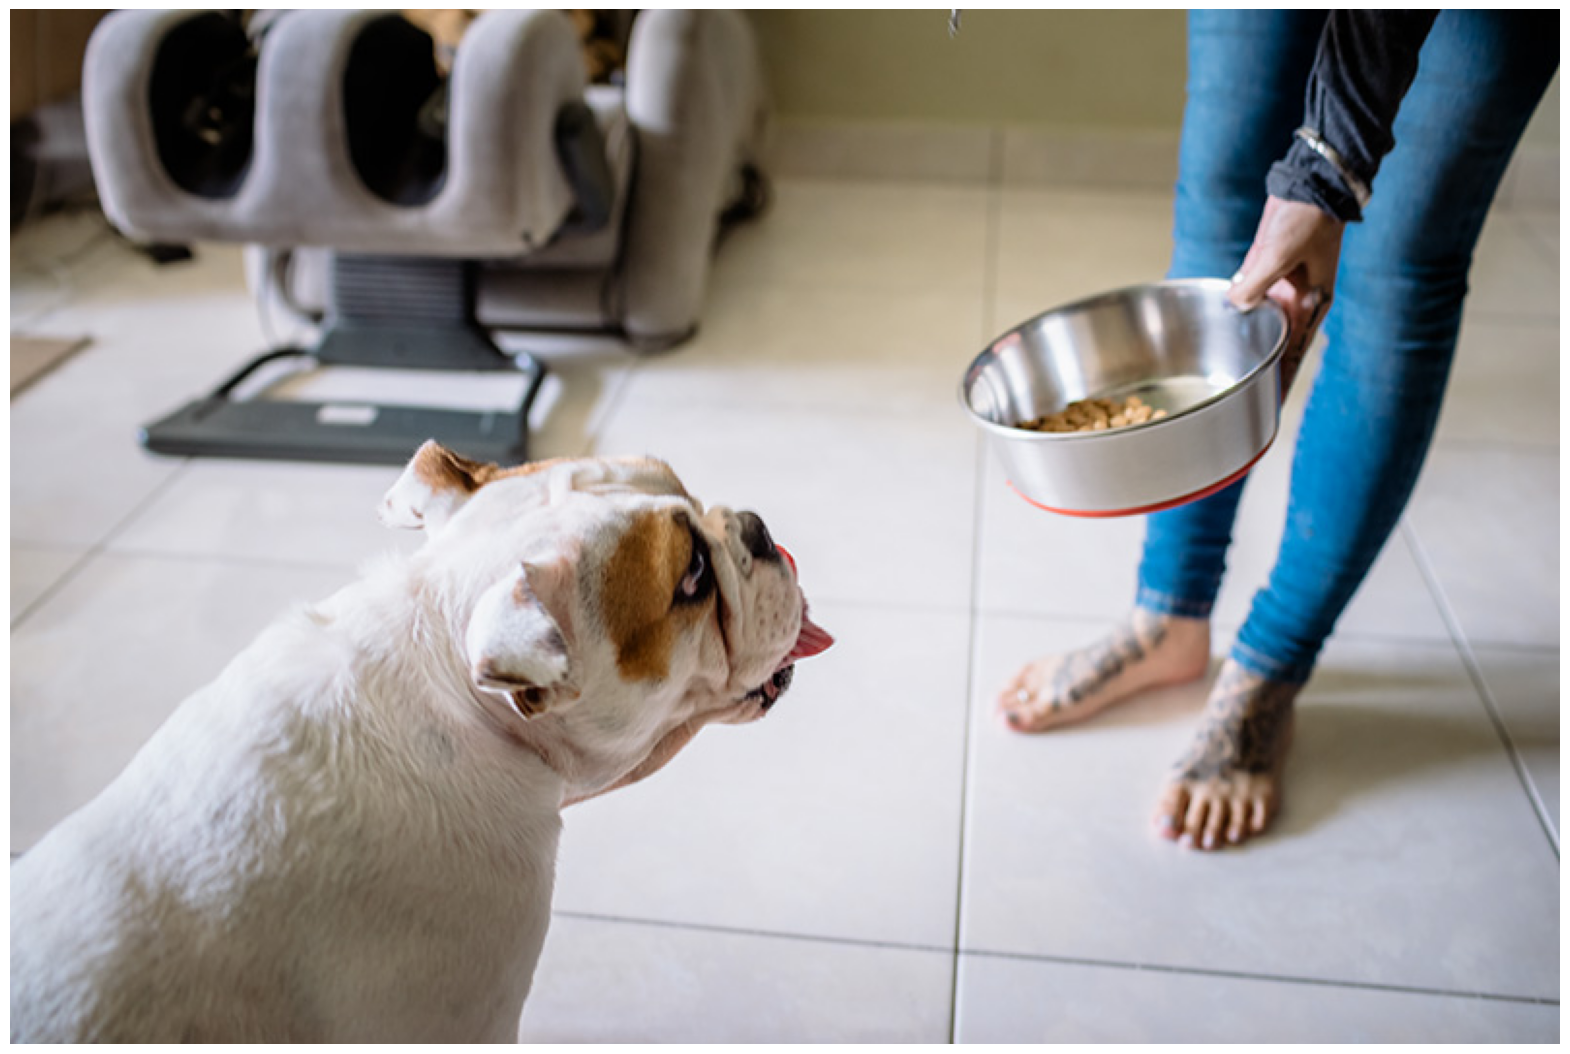
image = cv2.imread('images/dog.jpg')
image = cv2.cvtColor(image, cv2.COLOR_BGR2RGB)
plt.figure(figsize=(20,20))
plt.imshow(image)
plt.axis('off')
plt.show()
原图如下:
3.5 Automatic mask generation
要运行自动 mask 生成,请向 SamAutomaticMaskGenerator 类提供一个 SAM 模型。将下面的路径设置为 SAM 检查点的路径。推荐在 CUDA 上运行,并使用默认模型。
import sys
sys.path.append("..")
from segment_anything import sam_model_registry, SamAutomaticMaskGenerator, SamPredictorsam_checkpoint = "sam_vit_h_4b8939.pth"
model_type = "vit_h"device = "cuda"sam = sam_model_registry[model_type](checkpoint=sam_checkpoint)
sam.to(device=device)mask_generator = SamAutomaticMaskGenerator(sam)
masks = mask_generator.generate(image)

print(len(masks))
print(masks[0].keys())
输出结果为:
dict_keys(['segmentation', 'area', 'bbox', 'predicted_iou', 'point_coords', 'stability_score', 'crop_box'])
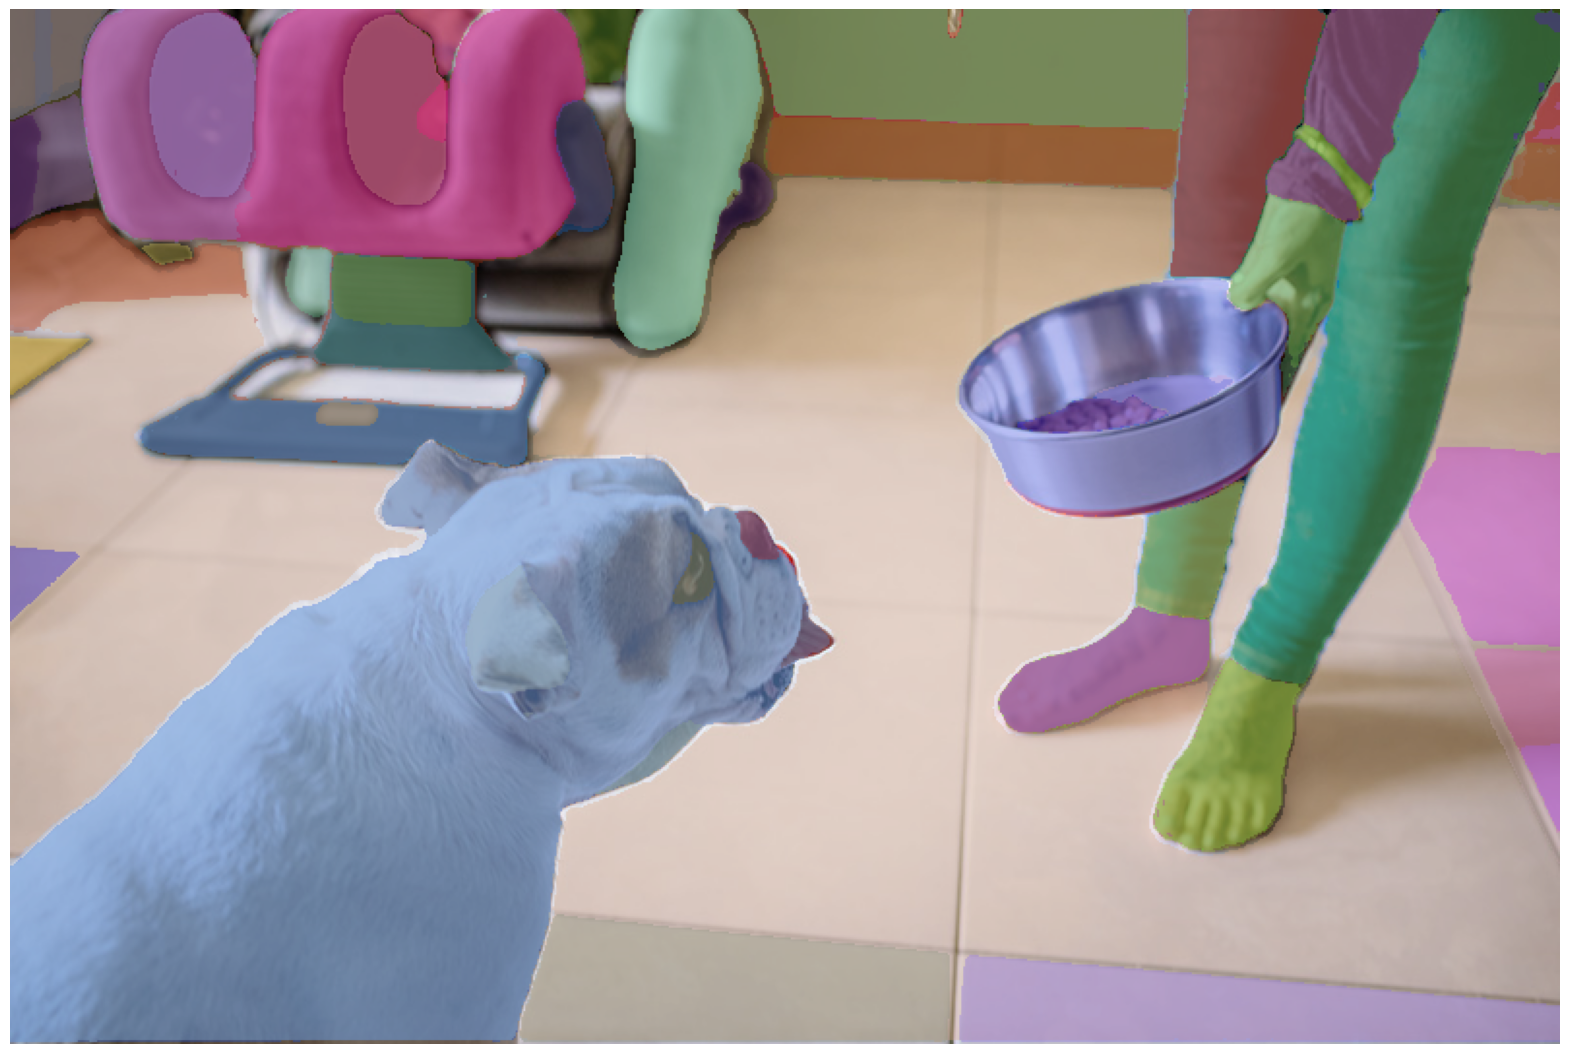
plt.figure(figsize=(20,20))
plt.imshow(image)
show_anns(masks)
plt.axis('off')
plt.show()
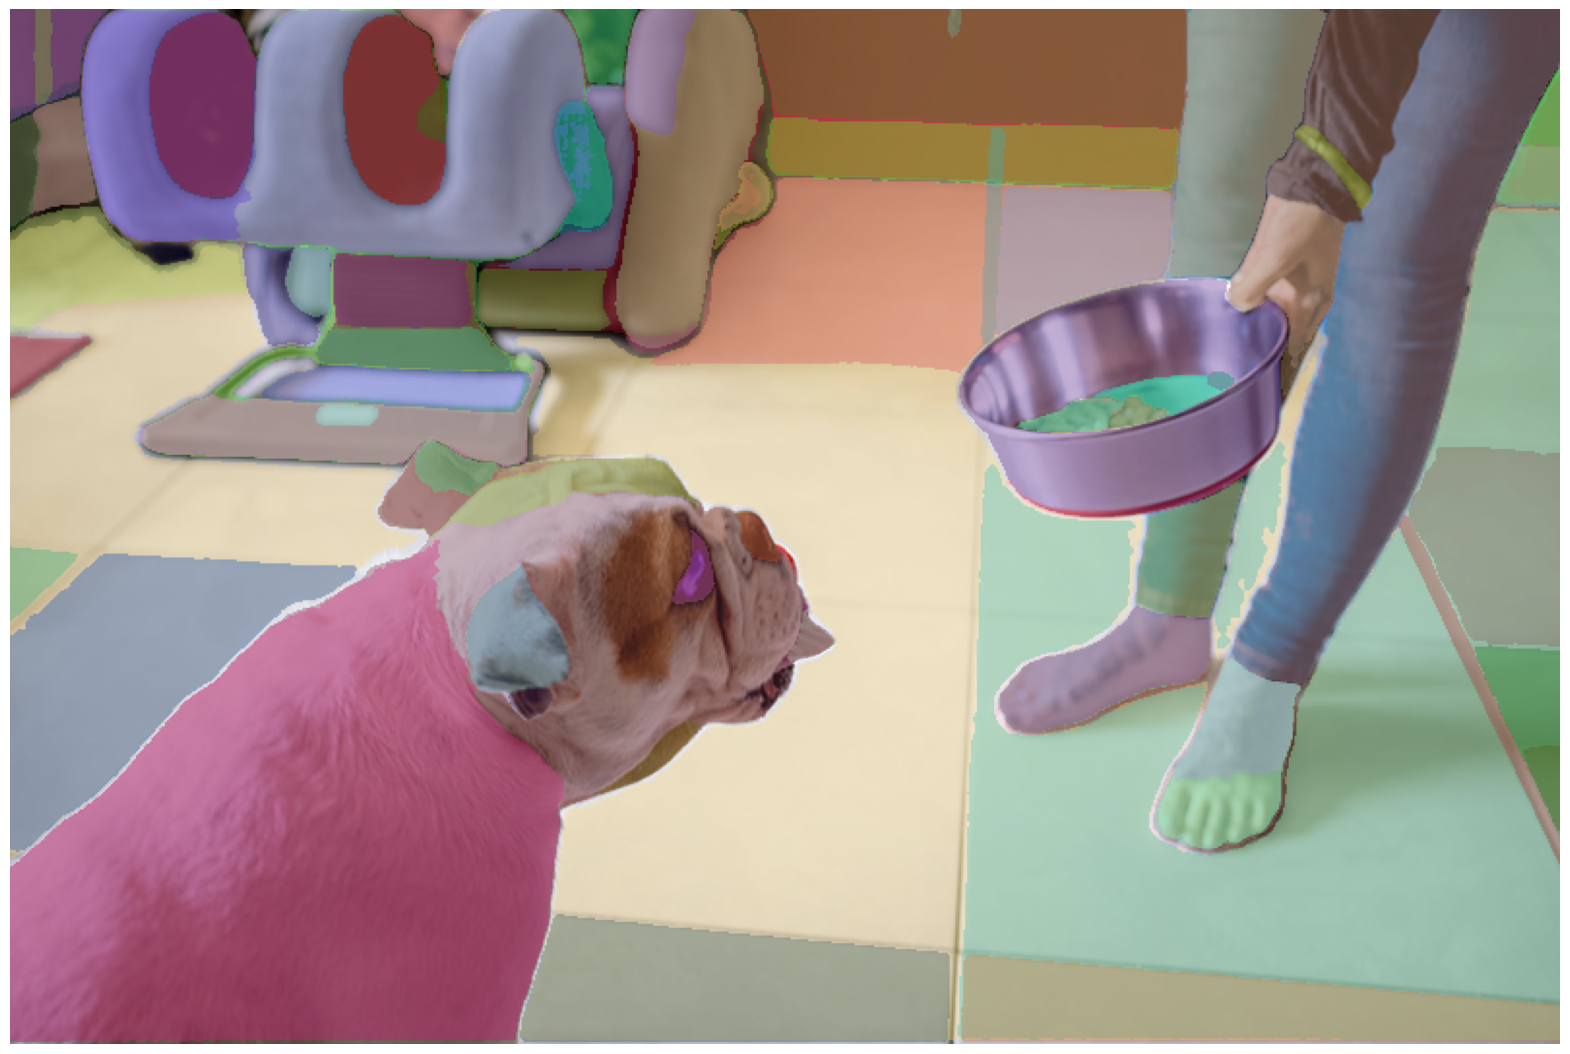
可视化结果如下:
3.6 Automatic mask generation options
自动掩码生成中有几个可调参数,用于控制采样点的密度以及去除低质量或重复掩码的阈值。 此外,生成可以在图像的裁剪上自动运行以提高较小对象的性能,并且后处理可以去除杂散像素和孔洞。 以下是对更多掩码进行采样的示例配置:
mask_generator_2 = SamAutomaticMaskGenerator(model=sam,points_per_side=32,pred_iou_thresh=0.86,stability_score_thresh=0.92,crop_n_layers=1,crop_n_points_downscale_factor=2,min_mask_region_area=100,  # Requires open-cv to run post-processing
)
masks2 = mask_generator_2.generate(image)
plt.figure(figsize=(20,20))
plt.imshow(image)
show_anns(masks2)
plt.axis('off')
plt.show()
