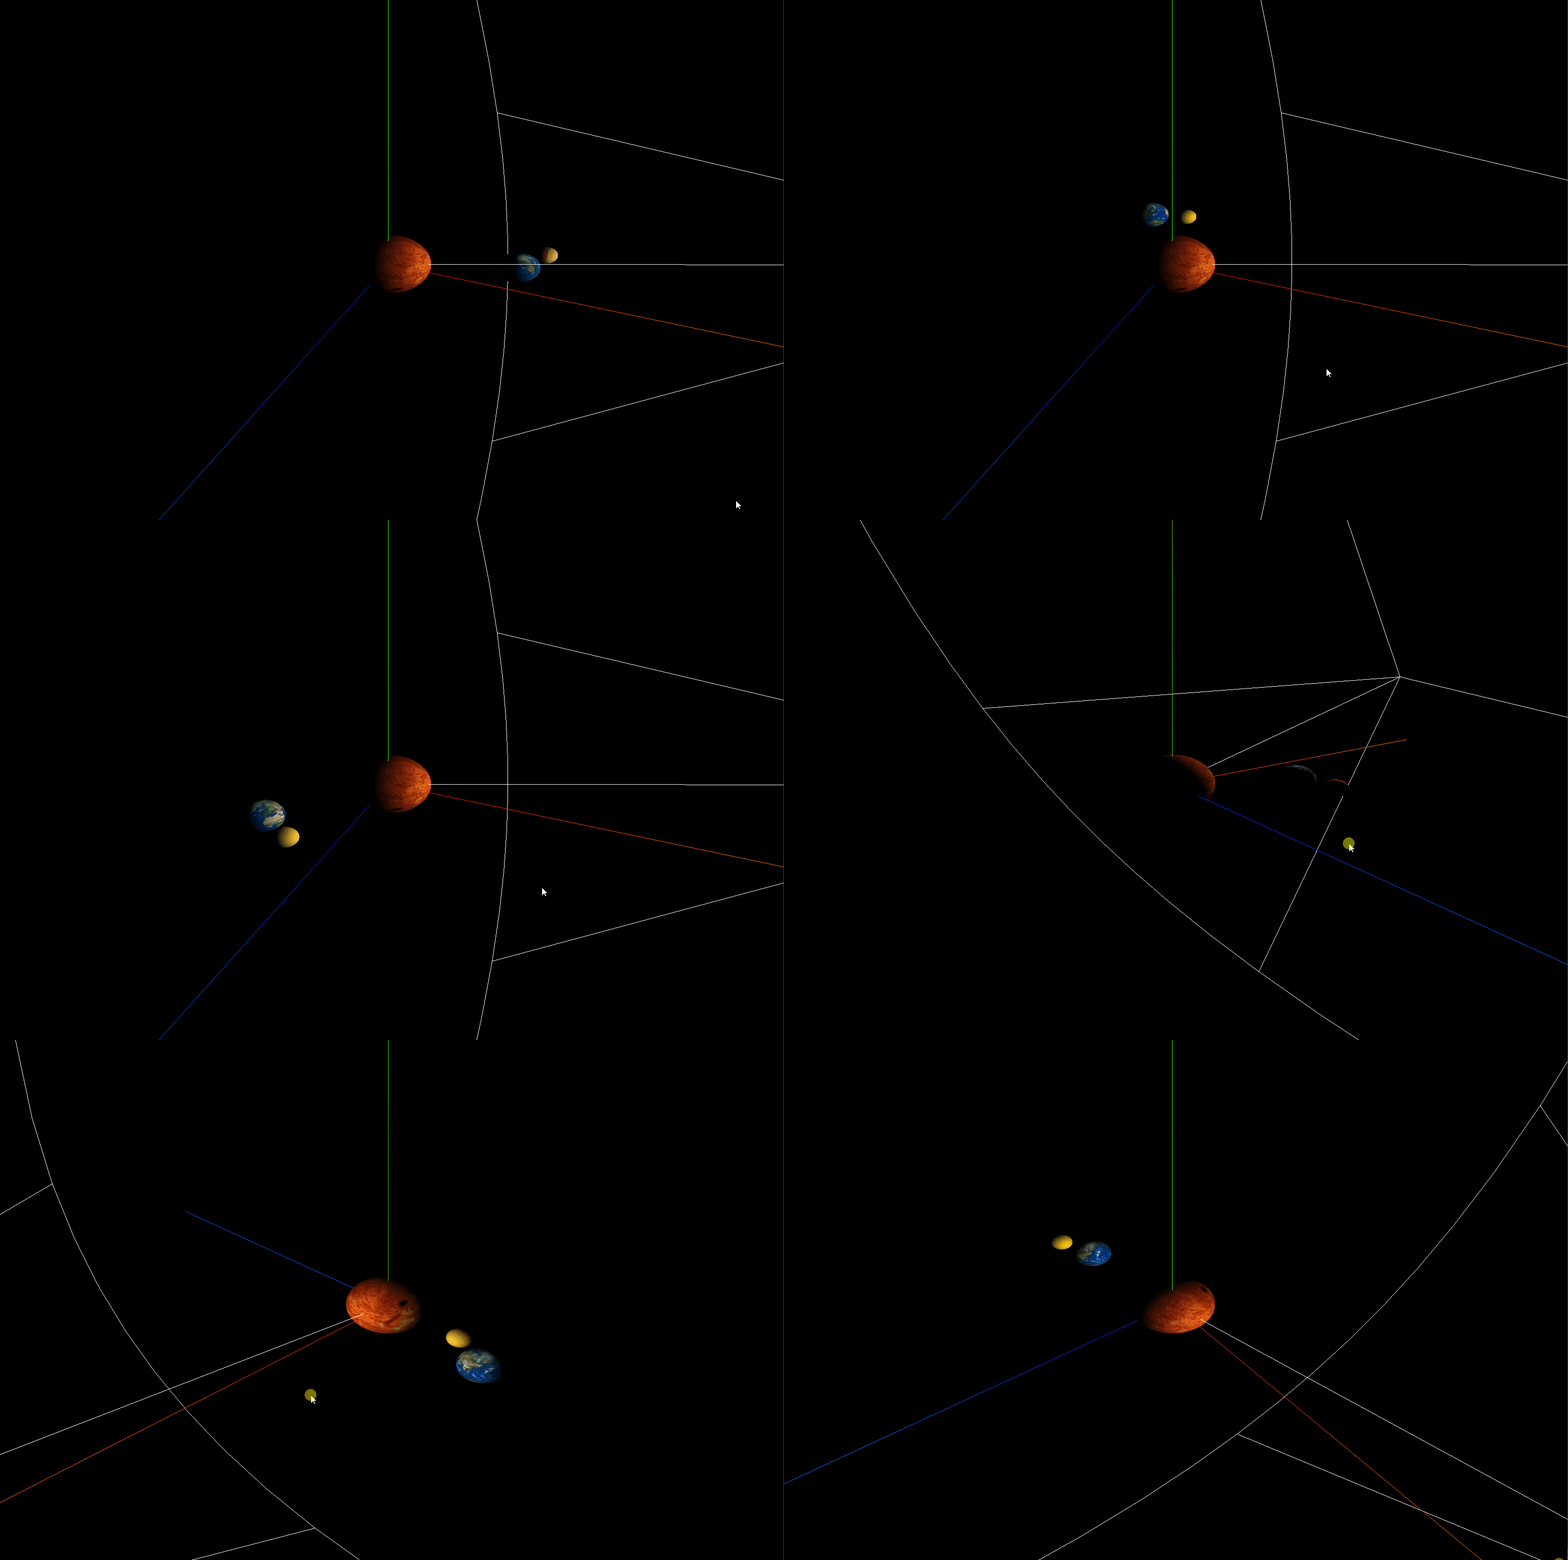
地球的旋转轨迹目前设置为了圆形,效果:
<template><div><el-container><el-main><div class="box-card-left"><div id="threejs" style="border: 1px solid red"></div><div class="box-right"></div></div></el-main></el-container></div>
</template>
<script>
// 引入轨道控制器扩展库OrbitControls.js
import { OrbitControls } from "three/examples/jsm/controls/OrbitControls.js";
import { GLTFLoader } from "three/examples/jsm/loaders/GLTFLoader.js";
export default {data() {return {name: "",scene: null,camera: null,renderer: null,mesh: null,mesh_moon: null,geometry: null,group: null,group2: null,material: null,texture: null,};},created() {},mounted() {this.name = this.$route.query.name;this.init();},methods: {goBack() {this.$router.go(-1);},init() {/*** 本案例的思路:创建了三个球缓存几何体,分别进行了纹理贴图,创建组group1, group2,* 将地球和月球添加到一个group1中,设置group1的位置让其离开原点,* 将group1进行绕Y轴旋转,再将group1 添加到 group2中,将group2添加到场景对象中并进行绕Y轴旋转*  */// 1,创建场景对象this.scene = new this.$three.Scene();// 5,创建辅助坐标轴对象const axesHelper = new this.$three.AxesHelper(1000);this.scene.add(axesHelper);this.group = new this.$three.Group();this.group2 = new this.$three.Group();// 创建纹理贴图加载器对象this.createTextureLoader({imgName: 'sun.png', spotLight: true, camera: true, controls: true});this.createTextureLoader2({r:50});},// 创建纹理加载器  加载地球createTextureLoader2({imgName="earth.png", r=100, l1=32, l2=16}) {// 创建纹理贴图加载器对象const textureLoader = new this.$three.TextureLoader();textureLoader.load(require("../../assets/eleven/" + imgName), e => {// 3,创建网格材质对象let mesh = this.createGeometry( r, l1, l2, e);mesh.position.set(0,0,0);const worldPosition = new this.$three.Vector3();mesh.getWorldPosition(worldPosition);this.group.add(mesh);this.group.position.set(300,0,0);this.scene.add(this.group);this.createTextureLoader3({r:30});this.createCamera();this.createControls();this.renderFun();})},// 创建纹理加载器  加载月球createTextureLoader3({imgName="moon.jpeg", r=100, l1=32, l2=16}) {// 创建纹理贴图加载器对象const textureLoader = new this.$three.TextureLoader();textureLoader.load(require("../../assets/eleven/" + imgName), e => {// 3,创建网格材质对象this.mesh_moon = this.createGeometry( r, l1, l2, e);this.mesh_moon.position.set(100,0,0);this.group.add(this.mesh_moon);this.group2.add(this.group);this.scene.add(this.group2);})},// 创建纹理加载器  加载太阳createTextureLoader({imgName="earth.png", r=100, l1=32, l2=16, spotLight=false, camera=false,controls=false}) {// 创建纹理贴图加载器对象const textureLoader = new this.$three.TextureLoader();textureLoader.load(require("../../assets/eleven/" + imgName), e => {// 3,创建网格材质对象let mesh = this.createGeometry( r, l1, l2, e);this.scene.add(mesh);if(spotLight) {// 创建聚光源对象const spot_light = new this.$three.SpotLight(0xffffff, 1);// 设置聚光源位置spot_light.position.set(1000, 300, -100);// 设置聚光源指向的目标位置spot_light.target = mesh;this.scene.add(spot_light);// 创建聚光源辅助对象const spotLightHelper = new this.$three.SpotLightHelper(spot_light,0xffffff);this.scene.add(spotLightHelper);}})},// 6,创建透视投影相机对象createCamera() {this.camera = new this.$three.PerspectiveCamera(90, 1, 0.01,9000);this.camera.position.set(500,500,600); // this.camera.updateProjectionMatrix();// 相机看向的是模型的位置this.camera.lookAt(0,0,0);// 7,创建渲染器对象this.renderer = new this.$three.WebGLRenderer();// 设置渲染器尺寸:宽度 1600, 高度:1000this.renderer.setSize(1600,1100);// 调用渲染方法this.renderer.render(this.scene, this.camera);document.getElementById("threejs").appendChild(this.renderer.domElement);},// 创建相机空间轨道控制器对象createControls() {const controls = new OrbitControls(this.camera, this.renderer.domElement);controls.addEventListener("change", () => {this.renderer.render(this.scene, this.camera);})},// 创建网格对象createGeometry(r, l1, l2, e) {let geometry = new this.$three.SphereGeometry(r, l1, l2);let material = new this.$three.MeshLambertMaterial({map: e});let mesh = new this.$three.Mesh(geometry, material);// this.scene.add(mesh);return mesh;},renderFun() {this.group.rotateY(0.02);this.group2.rotateY(0.01);if(this.mesh_moon) {this.mesh_moon.rotateY(0.02);}this.renderer.render(this.scene, this.camera);window.requestAnimationFrame(this.renderFun);}},
};
</script>
//
<style lang="less" scoped>
.msg {padding: 20px;text-align: left;display: flex;justify-content: flex-start;flex-wrap: wrap;.span {margin: 0 30px 30px 0;// white-space: nowrap;}.p {text-align: left;}
}
.box-card-left {display: flex;align-items: flex-start;flex-direction: row;width: 100%;.box-right {text-align: left;padding: 10px;.xyz {width: 100px;margin-left: 20px;}.box-btn {margin-left: 20px;}}
}
</style>
