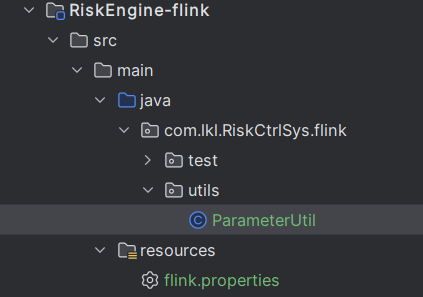
使用ParameterTool读取配置文件
Flink读取参数的对象
Commons-cli: Apache提供的,需要引入依赖ParameterTool:Flink内置
ParameterTool 比 Commons-cli 使用上简便;
ParameterTool能避免Jar包的依赖冲突
建议使用第二种
使用ParameterTool对象可以直接获取配置文件中的信息,需要如下依赖
<!-- Flink基础依赖 【ParameterTool类 在该依赖中】 --><dependency><groupId>org.apache.flink</groupId><artifactId>flink-java</artifactId></dependency><!-- Flink流批处理依赖 --><dependency><groupId>org.apache.flink</groupId><artifactId>flink-streaming-java_${scala.binary.version}</artifactId></dependency>
Java读取资源的方式
Class.getResourceAsStream(Path):Path 必须以 “/”,表示从ClassPath的根路径读取资源Class.getClassLoader().getResourceAsStream(Path):Path 无须以 “/”,默认从ClassPath的根路径读取资源
推荐使用第2种,以类加载器的方式获取静态资源文件,不要通过ClassPath的相对路径查找
最基本的工具类
public class ParameterUtil {// 创建 ParameterTool 对象public static ParameterTool getParameters() {// 读取 resources 文件夹下 "flink.properties" 文件InputStream inputStream = ParameterUtil.class.getClassLoader().getResourceAsStream(DEFAULT_CONFIG);try {return ParameterTool.fromPropertiesFile(inputStream);} catch (Exception e) {throw new FlinkPropertiesException(FlinkPropertiesExceptionInfo.PROPERTIES_NULL);}}
}
可以通过
ParameterUtil.getParameters().get("redis.port")直接读取key对应的value值
Flink写入Redis方式
- 继承RichSinkFunction (Flink-Stream)
- 使用第3方的包 (Apache-Bahir-Flink)
Apache-Bahir-Flink 的 Redis-Connector的缺点:
- 使用Jedis, 没有使用Lettuce
- 没有对 Flink Table/SQL Api 的支持
不少基于bahir二开的例子解决了上述问题
gitee地址:https://gitee.com/jeff-zou/flink-connector-redis?_from=gitee_search
github地址:https://github.com/apache/bahir-flink
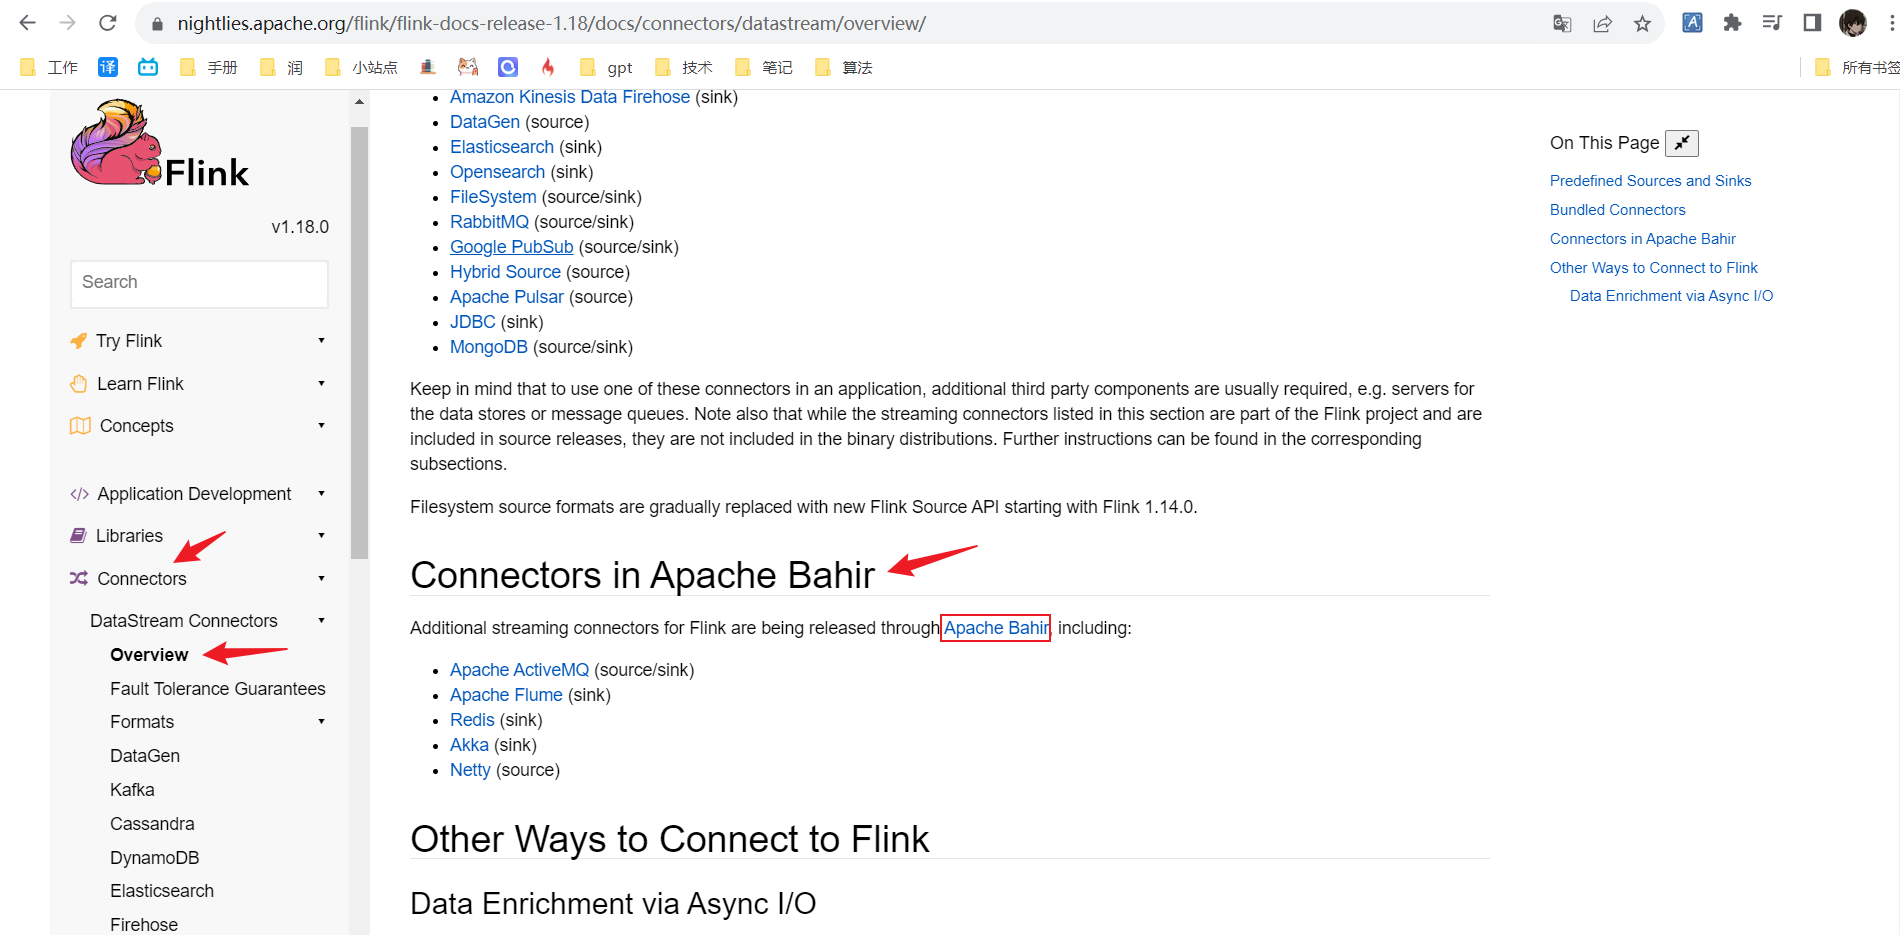
bahir 集成了许多连接器,其中就包含Redis
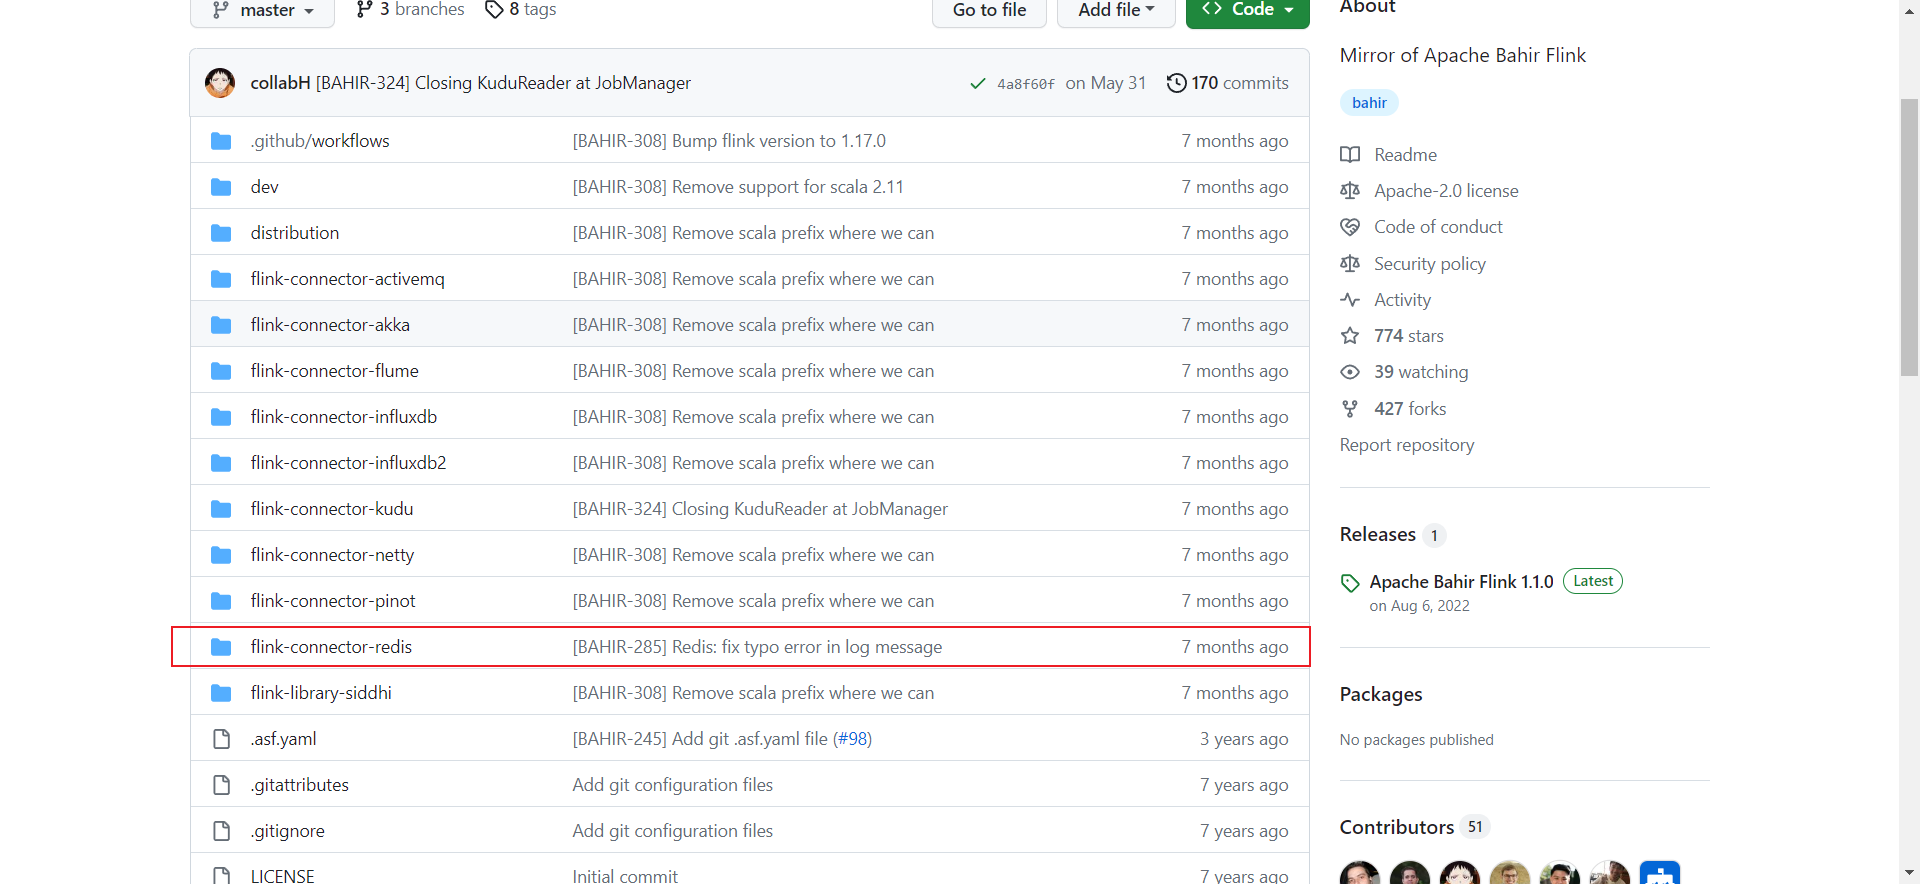
Flink官网上也可以看到bahir的影子
方便起见,接下来就基于bahir,Flink写入Redis集群
基于巴希尔(Bahir)-Flink写入Redis集群
引入connector连接器依赖
<!-- Flink-Connector-Redis --><dependency><groupId>org.apache.bahir</groupId><artifactId>flink-connector-redis_${scala.binary.version}</artifactId></dependency>
依赖版本定义在父模块中

实现RedisMapper接口自定义Sink
首先实现RedisMapper接口并指定泛型——处理元素的类型
/*** 基于apache bachir flink的RedisSink,作用于Redis String数据类型*/
public class RedisSinkByBahirWithString implements RedisMapper<Tuple2<String, String>> {/*** 指定Redis的命令*/@Overridepublic RedisCommandDescription getCommandDescription() {/* ************************ 如果Redis的数据类型是 hash 或 z-Set* RedisCommandDescription 的构造方法必须传入 additionalKey* additionalKey就是Redis的键** *********************/return new RedisCommandDescription(RedisCommand.SET);}/*** 从数据流里获取Key值*/@Overridepublic String getKeyFromData(Tuple2<String, String> input) {return input.f0;}/*** 从数据流里获取Value值*/@Overridepublic String getValueFromData(Tuple2<String, String> input) {return input.f1;}
}
写入Redis工具类
public class RedisWriteUtil {/* ************************ FlinkJedisClusterConfig:集群模式* FlinkJedisPoolConfig:单机模式* FlinkJedisSentinelConfig:哨兵模式** *********************/// Jedis配置private static final FlinkJedisClusterConfig JEDIS_CONF;static {ParameterTool parameterTool = ParameterUtil.getParameters();String host = parameterTool.get("redis.host");String port = parameterTool.get("redis.port");/* ************************ InetSocketAddress 是Java的套接字** *********************/InetSocketAddress inetSocketAddress = new InetSocketAddress(host, Integer.parseInt(port));Set<InetSocketAddress> set = new HashSet<>();set.add(inetSocketAddress);JEDIS_CONF = new FlinkJedisClusterConfig.Builder().setNodes(set).build();}/*** 基于Bahir写入Redis,Redis的数据是String类型*/public static void writeByBahirWithString(DataStream<Tuple2<String, String>> input) {input.addSink(new RedisSink<>(JEDIS_CONF, new RedisSinkByBahirWithString()));}}
测试一下
class RedisWriteUtilTest {@DisplayName("测试基于Bahir写入Redis,Redis数据类型是String类型")@Testvoid writeByBahirWithString() throws Exception {LocalStreamEnvironment env = StreamExecutionEnvironment.createLocalEnvironment();DataStreamSource<Tuple2<String, String>> dataStream = env.fromElements(Tuple2.of("k", "v"));RedisWriteUtil.writeByBahirWithString(dataStream);env.execute();}
}
非常完美!写入成功

Flink读取Redis方式
- 继承RichSourceFunction (实现自定义Source)
- 继承RichParallelSourceFunction (实现自定义Source)【可以指定并行度】
- 实现SourceFunction接口 (实现自定义Source)
RichParallelSourceFunction 和 RichSourceFunction区别
RichParallelSourceFunction 可以设置并行度
RichParallelSourceFunction 和 RichSourceFunction 代码是可以互相套用
RichParallelSourceFunction 默认的并行度是cpu 的 核心数(core数)
RichSourceFunction 的并行度只能是1
继承RichSourceFunction类-Flink读取Redis集群
前置准备
定义枚举类
Redis数据类型枚举类
@Getter
public enum RedisDataType {STRING,HASH,LIST,SET,SORTED_SET,;RedisDataType() {}
}
定义Redis命令的枚举类,便于Source判断操作
@Getter
public enum RedisCommand {// get stringGET(RedisDataType.STRING);private final RedisDataType redisDataType;RedisCommand(RedisDataType redisDataType) {this.redisDataType = redisDataType;}
}
Jedis配置类
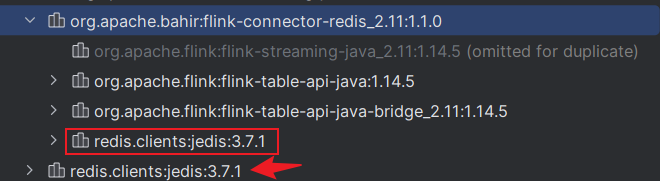
bahir依赖中自带jedis依赖一般不用,自行引入jedis,jedis依赖版本要与巴希尔中jedis版本保持一致
public class JedisConf {public static JedisCluster getJedisCluster() throws IOException {ParameterTool parameterTool =ParameterUtil.getParameters();String host = parameterTool.get("redis.host");String port = parameterTool.get("redis.port");/* *********************** Jedis对象** JedisPool : 用于redis单机版* JedisCluster: 用于redis集群** JedisCluster对象能够自动发现正常的redis节点** *********************/HostAndPort hostAndPort = new HostAndPort(host,Integer.parseInt(port));Set<HostAndPort> nodes = new HashSet<>();nodes.add(hostAndPort);return new JedisCluster(nodes);}
}
封装Jedis对象的redis方法
封装Jedis对象的redis方法,方便统一调用和维护
public class JedisBuilder {private JedisCluster jedis = null;public JedisBuilder(JedisCluster jedisCluster) {this.jedis = jedisCluster;}public void close() {if (this.jedis != null) {this.jedis.close();}}/*** Redis的Get方法*/public String get(String key) {return jedis.get(key);}
}
自定义Source
Redis数据的映射对象
@Data
@AllArgsConstructor
@NoArgsConstructor
public class RedisPO implements Serializable {private String data;}
Flink 自定义Redis Source读取Redis
/* *********************** 【富函数类】 比函数类提供了更多函数生命周期,提供了获取上下文的方法* 富函数类通常是抽象类* *********************/
public class RedisSource extends RichSourceFunction<RedisPO> {/*** Jedis对象*/private JedisBuilder jedisBuilder;/*** Redis命令枚举对象*/private final RedisCommand redisCommand;/*** redis key*/private final String key;public RedisSource(RedisCommand redisCommand, String key) {this.redisCommand = redisCommand;this.key = key;}/*** volatile 修饰的变量,它的更新都会通知其他线程.*/private volatile boolean isRunning = true;/*** Redis的连接初始化*/@Overridepublic void open(Configuration parameters) throws Exception {JedisCluster jedisCluster = JedisConf.getJedisCluster();jedisBuilder = new JedisBuilder(jedisCluster);}/*** Redis数据的读取*/@Overridepublic void run(SourceContext<RedisPO> output) throws Exception {/* ************************ 一直监听Redis数据的读取** *********************/String data = null;// while (isRunning) {switch (redisCommand.getRedisDataType()) {case STRING:data = jedisBuilder.get(key);}output.collect(new RedisPO(data));// }}@Overridepublic void cancel() {this.isRunning = false;}}
读取Redis工具类
public class RedisReadUtil {public static DataStream<RedisPO> read(StreamExecutionEnvironment env,RedisCommand redisCommand,String key) {return env.addSource(new RedisSource(redisCommand, key));}
}
测试一下
class RedisReadUtilTest {@DisplayName("测试自定义Source读取Redis,Redis数据类型是String类型")@Testvoid testReadByCustomSourceWithString() throws Exception {StreamExecutionEnvironment env =StreamExecutionEnvironment.getExecutionEnvironment();DataStream<RedisPO> dataStream = RedisReadUtil.read(env,RedisCommand.GET,"k");dataStream.print();env.execute();}
}
测试成功!