1、使用unity-webgl插件
npm i unity-webgl
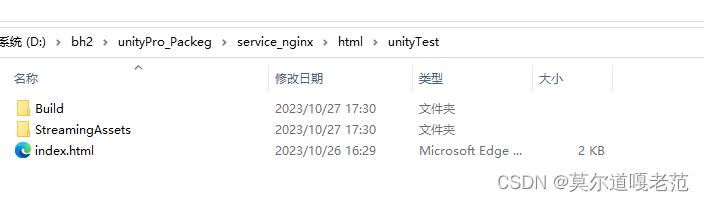
unity打包后的build文件夹是这样的

需要手动删除.unityweb这个后缀,完成后放在vue3项目的根目录下的public文件夹下。
下面是引入unity的vue组件,其中实例化UnityWebgl时的参数地址直接引用上面的对应文件地址
<script setup>
import UnityWebgl from 'unity-webgl';
import UnityVue from 'unity-webgl/vue';const unityContext = new UnityWebgl({loaderUrl: '/unity/Build/test.loader.js',dataUrl: '/unity/Build/test.data',frameworkUrl: '/unity/Build/test.framework.js',codeUrl: '/unity/Build/test.wasm',companyName: 'test',productName: 'test',
});
</script><template><div style="width: 1900px; height: 900px; border: 1px solid #f00"><UnityVue :unity="unityContext" /></div>
</template>
2、使用iframe引入
首先将 unity工程打包后放在服务器上,我是使用的nginx,因为比较方便,自己就能测试。
然后将iframe的地址填写为在nginx的配置文件中配置的地址就行了
nginx配置:
server {listen 9081;server_name localhost;add_header Access-Control-Allow-Origin *;add_header Access-Control-Allow-Headers X-Requested-With;add_header Access-Control-Allow-Methods GET,POST,OPTIONS;location / {root html/unityTest;try_files $uri $uri/ /index.html;add_header Cache-Control no-store;index index.html index.htm;}error_page 500 502 503 504 /50x.html;location = /50x.html {root html;}}
所以我这里就是127.0.0.1:9081 简单测试一下,此时直接浏览器访问该地址也能看到unity项目正常运行
在vue中:
我是用了一个外部配置文件:
const configUrl = {baseURL: 'http://192.168.2.116:8004', //资源服务接口地址unityURL: 'http://192.168.2.116:9081', //unity地址
}
<script setup lang="ts">
const iframeSrc = configUrl.unityURL;
</script>
<template><iframe :src="iframeSrc" class="iframe" frameborder="0"></iframe>
</template>
调整一下css就行了