爱普生EPSON实时时钟芯片-RX8900SA
- 一、引脚连接
- 二、使用方法
- 寄存器配置
- 1.实时时间读取/设置
- 2.闹钟时间读取/设置
- 三、代码
- "Rx8900sa.c文件"
- "Rx8900sa.h文件"
一、引脚连接
近期由于项目需求,被指定使用一款实时时钟芯片RX8900SA,经查询后发现网络资源很少,便在此记录一下使用笔记,方便查询使用,附代码。后期发现爱普生的RX8025t芯片手册内容相近,资源多且有中文手册,可对比查看。


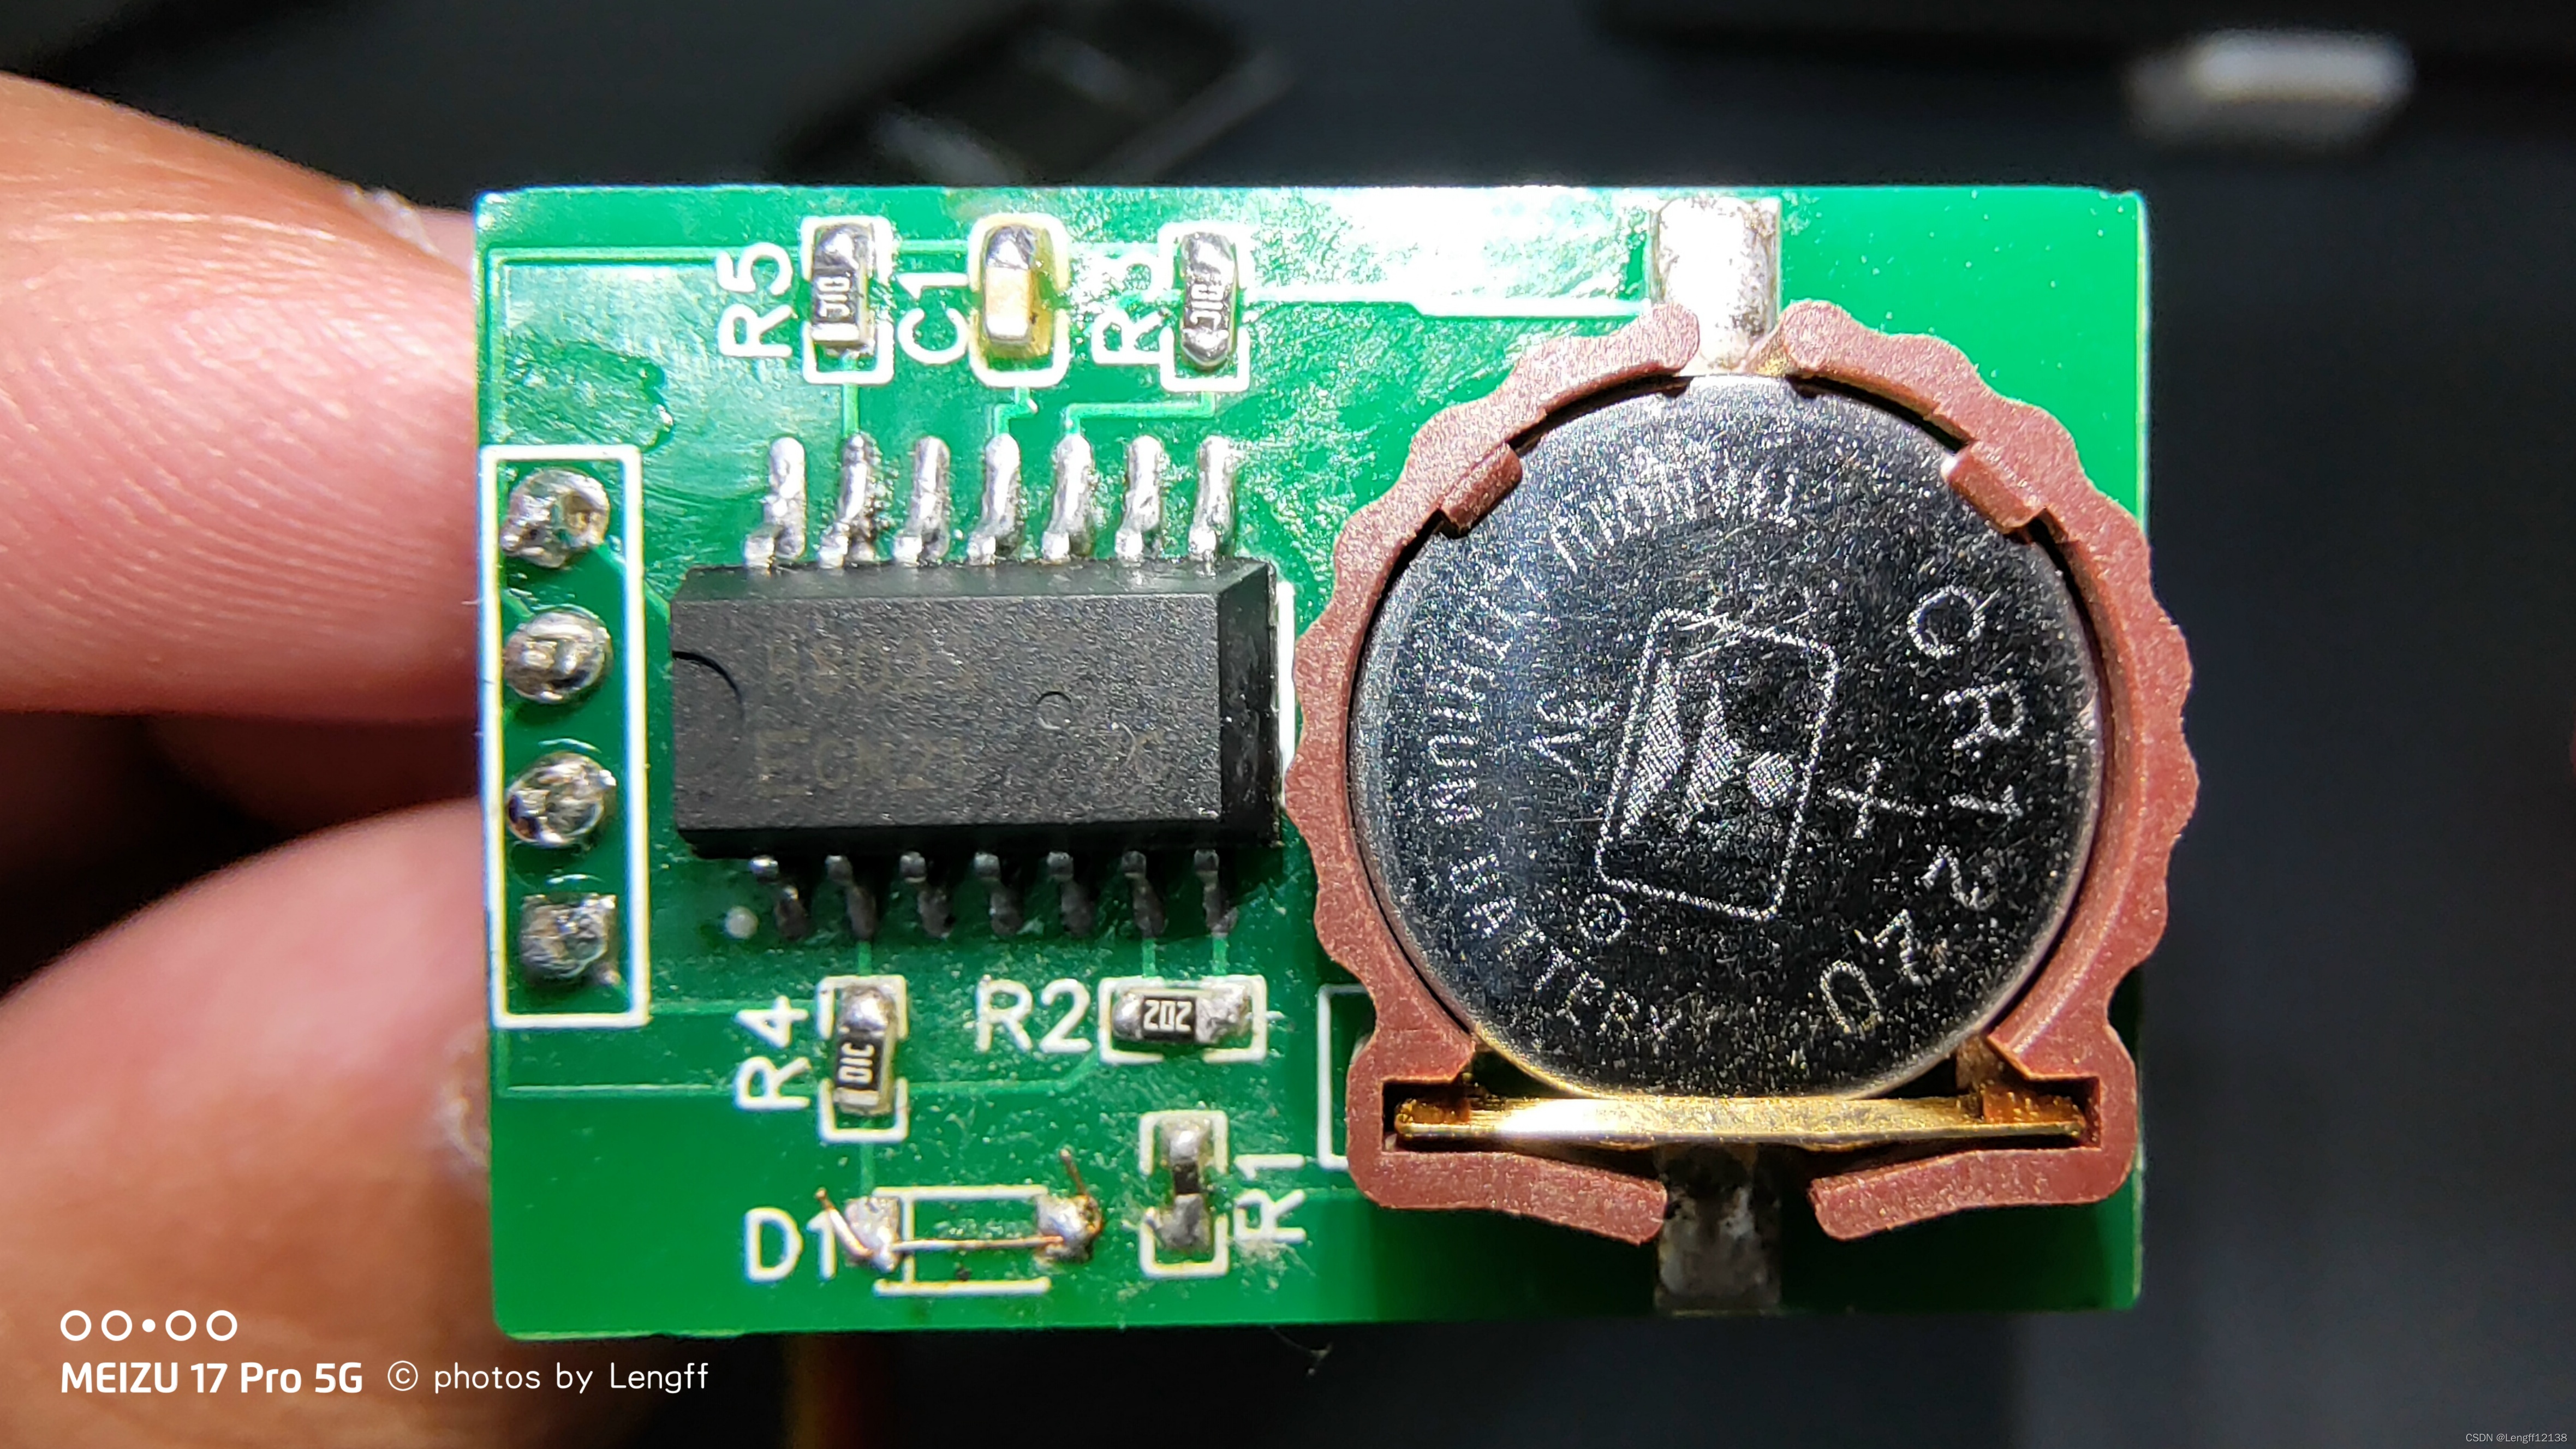
芯片采用I2C通讯方式,具体时序查看芯片应用手册,常用的引脚如下:
SDA/SCL:用于I2C通讯;
/INT:用于闹钟报警,正常状态时是高电平,中断发生后,引脚电平由 高3V->低;
Vbat:连接电池;
二、使用方法
寄存器配置

1.芯片寄存器一共有15个,00~06用来设置和读取实时时间,数据格式为BCD码,需要注意的是03WEEK寄存器数据格式是不一样的,每个位对应周几(不许进行BCD码转换);
2.08~0A是用来对定时闹钟的时间配置,闹钟配置有两种方式具体操作在下面;
3.0D~0F是控制寄存器,用来设定中断方式、定时方式、中断标志位等;
1.实时时间读取/设置

1.设备地址为64,想要写入相应的寄存器,需要先发设备地址,然后寄存器地址,然后数值,比如WriteByteAdd(Rx8900sa_ADD,15,0x08); //使能alarm中断信号AIE;
2.读取相应的寄存器,需要先发设备地址,然后相应的寄存器,比如typGetAlarmTime.AF=ReadByteAdd(Rx8900sa_ADD,14);//读取中断标志寄存器,AF在第3位,0开始计数。
2.闹钟时间读取/设置


开启闹钟定时报警功能(即到点儿/INT引脚就由高变低),主要分两步:
1.设置定时时间,闹钟最小定时时间为分钟,设置不到秒,最大设置时间为日,若想要更长时间的定时,添加应用代码即可,分钟/小时时间设置向08/09寄存器写入数值即可,数值80h~FFh中及代表忽略(即每一分钟或者每小时);这里比较特殊的是day和week的定时,时间设置在0A寄存器,但需要使用0D寄存器的WADA位来控制,0代表周时间报警,1代表日时间报警,0A寄存器数据格式最高位为1的话表示每一天。
2.设置2个寄存器(0D,0F),清除1个中断标志位;0D Extension Register寄存器中第6位WADA用来控制按照day设定的时间报警,还是用week设定的时间报警,0F Control Register寄存器的第3位AIE是用来使能闹钟定时中断,因此在初始化的时候需要对该为写1;1个中断标志位是0E Flag Register寄存器的第3位AF,在初始化的时候需要进行清0,当定时时间到,中断发生,该标志位置1,/INT引脚电平由3V->0V,清零该标志位后便可进行下一次定时报警,不清除不再会触发定时报警。
三、代码
“Rx8900sa.c文件”
其中包括一些延时函数,用于自己的开发环境中重新定义一下即可,这里的OS.h主要用来设定延时函数
代码片.
/*************************************************
File name:    //Rx8900sa.c/h
Author:      //Davidysw
Version:      //V1.0
Description:  //用于驱动Rx8900sa实时时钟芯片 // 读取秒、分、时、周、日、月、年// 设定闹钟分、时、日
Others:       // 具体操作查看应用手册
Log:          //
*************************************************/
#include <msp430.h>
#include "OS.h"
#include "Rx8900sa.h"TIME  typNowTime,typSetTime;
ALARM typSetAlarmTime,typGetAlarmTime;/*
*@ Description: 转换为BCD码
*@ param 1    :例如传进来的是51,转换成0x51,实时时钟存储的是BCD码
*@ param 2
*@ return
*/
uint8_t hex_2bcd(uint8_t s)
{uint8_t temp;uint8_t t;s %= 100;temp = s / 10;if(!temp)             //如果为0{t = s ;}else{t = temp * 6 + s;   //10进制转16进制,超过10的数*6}return t;
}/*
*@ Description: 读取实时时间->typNowTime
*@ param 1
*@ param 2
*@ return
*/
void Rx8900sa_ReadNowTime(void)
{  		uint8_t buff_rd[7];uint8_t i;for(i = 0; i < 7;i ++){buff_rd[i] = ReadByteAdd(Rx8900sa_ADD,i);}typNowTime.second = ((buff_rd[0] >> 4) & 0x07) * 10 + (buff_rd[0] & 0x0f);typNowTime.minute = ((buff_rd[1] >> 4) & 0x07) * 10 + (buff_rd[1] & 0x0f);typNowTime.hour   = ((buff_rd[2] >> 4) & 0x03) * 10 + (buff_rd[2] & 0x0f);//typNowTime.week   = ((buff_rd[3] >> 4) & 0x07) * 10 + (buff_rd[3] & 0x0f);typNowTime.day    = ((buff_rd[4] >> 4) & 0x03) * 10 + (buff_rd[4] & 0x0f);typNowTime.month  = ((buff_rd[5] >> 4) & 0x01) * 10 + (buff_rd[5] & 0x0f);typNowTime.year   = ((buff_rd[6] >> 4) & 0x0f) * 10 + (buff_rd[6] & 0x0f);switch(buff_rd[3]){case 0x02:{typNowTime.week=1;}break;case 0x04:{typNowTime.week=2;}break;case 0x08:{typNowTime.week=3;}break;case 0x10:{typNowTime.week=4;}break;case 0x20:{typNowTime.week=5;}break;case 0x40:{typNowTime.week=6;}break;case 0x01:{typNowTime.week=7;}break;default:{typNowTime.week=0;}break;}
}/*
*@ Description: 设置实时时间->typSetTime
*@ param 1    Rx8900sa_SetNowTime(31,0,6,1,18,11,19);
*@ param 2
*@ return
*/
uint16_t Rx8900sa_SetNowTime(uint8_t second,uint8_t minute,uint8_t hour,uint8_t week,uint8_t day,uint8_t month,uint8_t year)
{	uint8_t i;uint8_t buff_wr[7];static TIME set_time_old;typSetTime.second = second;typSetTime.minute = minute;typSetTime.hour   = hour;//typSetTime.week   = week;typSetTime.day    = day;typSetTime.month  = month;typSetTime.year   = year;switch(week){case 1:{typSetTime.week=0x02;}break;case 2:{typSetTime.week=0x04;}break;case 3:{typSetTime.week=0x08;}break;case 4:{typSetTime.week=0x10;}break;case 5:{typSetTime.week=0x20;}break;case 6:{typSetTime.week=0x40;}break;case 7:{typSetTime.week=0x01;}break;default:{typSetTime.week=0;}break;       }if(typSetTime.second!=set_time_old.second||typSetTime.minute!=set_time_old.minute||typSetTime.hour!=set_time_old.hour||typSetTime.week!=set_time_old.week||typSetTime.day!=set_time_old.day||typSetTime.month!=set_time_old.month||typSetTime.year!=set_time_old.year){buff_wr[0] = hex_2bcd(typSetTime.second);buff_wr[1] = hex_2bcd(typSetTime.minute);buff_wr[2] = hex_2bcd(typSetTime.hour);buff_wr[3] = typSetTime.week;buff_wr[4] = hex_2bcd(typSetTime.day);	buff_wr[5] = hex_2bcd(typSetTime.month);buff_wr[6] = hex_2bcd(typSetTime.year);for(i = 0;i < 7; i++){WriteByteAdd(Rx8900sa_ADD,i,buff_wr[i]);delay_ms(5);}set_time_old.second = typSetTime.second;set_time_old.minute = typSetTime.minute;set_time_old.hour   = typSetTime.hour;set_time_old.week   = typSetTime.week;set_time_old.day    = typSetTime.day;set_time_old.month  = typSetTime.month;set_time_old.year   = typSetTime.year;		}return 1;
}/*
*@ Description: 设置闹钟--天设置方式
*@ param 1    :例如:设置18号6点1分出发闹钟报警,则设置Rx8900sa_SetAlarmDay(1,6,18);
*@ param 2
*@ return
*/
uint16_t Rx8900sa_SetAlarmDay(uint8_t minute,uint8_t hour,uint8_t day)
{uint8_t i;uint8_t buff_wr[4];typSetAlarmTime.minute = minute;typSetAlarmTime.hour   = hour;typSetAlarmTime.day    = day;buff_wr[0] = hex_2bcd(typSetAlarmTime.minute);buff_wr[1] = hex_2bcd(typSetAlarmTime.hour);buff_wr[2] = hex_2bcd(typSetAlarmTime.day);	for(i = 8;i < 11; i++){WriteByteAdd(Rx8900sa_ADD,i,buff_wr[i-8]);delay_ms(5);}WriteByteAdd(Rx8900sa_ADD,15,0x08);//使能alarm中断信号AIEdelay_ms(5);WriteByteAdd(Rx8900sa_ADD,13,0x40);//寄存器WADA:1设定day  0:设定week报警delay_ms(5);rx8900sa_ClearAlarmFlag();         //清除报警标志位delay_ms(5);return 1;
}/*
*@ Description: 设置闹钟--周设置方式,WADA=0
*@ param 1    :例如:设置星期一到星期五6点1分出发闹钟报警,则设置Rx8900sa_SetAlarmWeek(1,6,0x3E);
*@ param 2    :week  AE Sat Fri Th Wes Tue Mon Sun
*@ param 3            0   0   1   1  1   1   1   0     = 0x3E
*/
uint16_t Rx8900sa_SetAlarmWeek(uint8_t minute,uint8_t hour,uint8_t week)
{uint8_t i;uint8_t buff_wr[4];typSetAlarmTime.minute = minute;typSetAlarmTime.hour   = hour;typSetAlarmTime.week   = week;buff_wr[0] = hex_2bcd(typSetAlarmTime.minute);buff_wr[1] = hex_2bcd(typSetAlarmTime.hour);buff_wr[2] = typSetAlarmTime.week;for(i = 8;i < 10; i++){WriteByteAdd(Rx8900sa_ADD,i,buff_wr[i-8]);delay_ms(5);}WriteByteAdd(Rx8900sa_ADD,10,buff_wr[2]);delay_ms(5);WriteByteAdd(Rx8900sa_ADD,15,0x08);//使能alarm中断信号AIEdelay_ms(5);WriteByteAdd(Rx8900sa_ADD,13,0x00);//寄存器WADA:1设定day  0:设定week报警delay_ms(5);rx8900sa_ClearAlarmFlag();         //清除报警标志位delay_ms(5);return 1;
}/*
*@ Description: 清除中断标志位AF
*@ param 1    :时间到设定闹钟时间后触发报警引脚INT,电平会从高->低,清除标志位AF后,才会进行下次报警
*@ param 2
*@ return
*/
void rx8900sa_ClearAlarmFlag(void)
{WriteByteAdd(Rx8900sa_ADD,14,0x40);//清除中断标志位AF,第3位AF清除,第6位保持
}
/*
*@ Description: 读取芯片闹钟寄存器,用于放在循环中做仿真测试使用
*@ param 1
*@ param 2
*@ return
*/
void Rx8900sa_ReadAlarm(void)
{  		uint8_t buff_rd[3];uint8_t i;for(i = 8; i < 11;i ++){buff_rd[i-8] = ReadByteAdd(Rx8900sa_ADD,i);}typGetAlarmTime.minute = ((buff_rd[0] >> 4) & 0x07) * 10 + (buff_rd[0] & 0x0f);typGetAlarmTime.hour   = ((buff_rd[1] >> 4) & 0x03) * 10 + (buff_rd[1] & 0x0f);typGetAlarmTime.day    = ((buff_rd[2] >> 4) & 0x03) * 10 + (buff_rd[2] & 0x0f);typGetAlarmTime.week   = buff_rd[2];typGetAlarmTime.AF=ReadByteAdd(Rx8900sa_ADD,14);//读取中断标志寄存器,AF在第3位,0开始计数typGetAlarmTime.AIE=ReadByteAdd(Rx8900sa_ADD,15);//读取AIE中断使能寄存器,AIE在第3位typGetAlarmTime.WADA=ReadByteAdd(Rx8900sa_ADD,13);//读取WADA中断使能寄存器,WADA在第6位if((typGetAlarmTime.AF&0x08)!=0)               //产生闹钟中断,AF=1{rx8900sa_ClearAlarmFlag();}
}uint8_t GetNowtimeSecond(void)
{return typNowTime.second;
}
uint8_t GetNowtimeMinute(void)
{return typNowTime.minute;
}
uint8_t GetNowtimeHour(void)
{return typNowTime.hour;
}
uint8_t GetNowtimeDay(void)
{return typNowTime.day;
}
uint8_t GetNowtimeMonth(void)
{return typNowTime.month;
}
uint8_t GetNowtimeYear(void)
{return typNowTime.year;
}/****************************
*       以下为I2C相关函数
*****************************//*时钟线状态设置*/
void Set_SCL(uint8_t x)
{if(x){SCL_H;}else{SCL_L;}delay_us(20);
}/*数据线状态设置*/
void Set_SDA(uint8_t x)
{if(x){SDA_H;}else{SDA_L;}delay_us(20);
}/*总线状态初始化*/
void I2Cstart(void)//开始信号
{SDA_OUTPUT;Set_SCL(1);Set_SDA(1);Set_SDA(0);delay_us(20);
}/*总线结束*/
void I2Cstop(void)
{SDA_OUTPUT;Set_SCL(0);Set_SDA(0);Set_SCL(1);Set_SDA(1);
}/*等待从机应答*/
void I2CResponseAck(void)
{uint16_t i = 0;Set_SCL(1);	 SDA_INPUT;while((SDA_X)&&(i<2500)){i++;//如果一段时间内没有收到应答信号,则认为已正确接收到数据?}Set_SCL(0);
}void write_byte(uint8_t data)
{uint8_t i;SDA_OUTPUT;for(i=0;i<8;i++){Set_SCL(0);if((data&0x80)!=0)	{ Set_SDA(1);}else{Set_SDA(0) ; }				  Set_SCL(1);		   data=data<<1;}Set_SCL(0);
}
uint8_t read_byte(void)
{uint8_t i,k;Set_SCL(0);SDA_INPUT; for(i=0;i<8;i++){	k=k<<1;Set_SCL(1);if(SDA_X){	 k=k|1;}Set_SCL(0);}  return k;
}/*主机应答回应*/
void I2CSendAck(uint8_t n)
{Set_SCL(0);SDA_OUTPUT;if(n){Set_SDA(1);}else{Set_SDA(0);}Set_SCL(1);
}/*给IIC设备写入一个字节*/
void WriteByteAdd(uint8_t iic_add, uint8_t byte_add, uint8_t data)
{I2Cstart();write_byte(iic_add);I2CResponseAck();write_byte(byte_add);I2CResponseAck();write_byte(data);I2CResponseAck();I2Cstop();
}/*读IIC设备一个字节*/
uint8_t ReadByteAdd(uint8_t iic_add, uint8_t byte_add)
{uint8_t temp;I2Cstart();write_byte(iic_add);I2CResponseAck();write_byte(byte_add);I2CResponseAck();I2Cstart();write_byte(iic_add|1);I2CResponseAck();temp = read_byte();I2CSendAck(1);I2Cstop();return temp;
}
“Rx8900sa.h文件”
代码片.
#ifndef   _RX8900SA_H
#define   _RX8900SA_H#define uint8_t  unsigned char
#define uint16_t unsigned int
#define uint32_t unsigned long#define Rx8900sa_ADD	 0X64typedef	struct	TIME_type
{unsigned char 	second;		//秒unsigned char 	minute;		//分unsigned char 	hour;		//小时unsigned char 	week;		//周unsigned char 	day;		//日unsigned char 	month;		//月unsigned char 	year;		//年
}TIME;
extern TIME typNowTime,typSetTime;typedef	struct	ALARM_type
{unsigned char 	minute;		//分unsigned char 	hour;		//小时unsigned char 	week;		//周unsigned char 	day;		//日unsigned char 	AF;		//中断标志unsigned char 	AIE;		//中断使能unsigned char 	WADA;		//WADA:1设定day  0:设定week报警
}ALARM;
extern ALARM typSetAlarmTime,typGetAlarmTime;// The two-wire I2C bus port
#define SCL                BIT5
#define SCL_OUTPUT        (P3DIR |= SCL)
#define SCL_L             (P3OUT &=~SCL)
#define SCL_H             (P3OUT |= SCL)#define SDA                BIT7
#define SDA_OUTPUT        (P3DIR |= SDA)
#define SDA_INPUT         (P3DIR &=~SDA)
#define SDA_L             (P3OUT &=~SDA)
#define SDA_H             (P3OUT |= SDA)
#define SDA_X             (P3IN&SDA)extern uint16_t Rx8900sa_SetNowTime(uint8_t second,uint8_t minute,uint8_t hour,uint8_t week,uint8_t day,uint8_t month,uint8_t year);
extern uint16_t Rx8900sa_SetAlarmDay(uint8_t minute,uint8_t hour,uint8_t day);
extern uint16_t Rx8900sa_SetAlarmWeek(uint8_t minute,uint8_t hour,uint8_t week);
extern uint8_t ReadByteAdd(uint8_t iic_add, uint8_t byte_add);
extern void WriteByteAdd(uint8_t iic_add, uint8_t byte_add, uint8_t data);
extern void Rx8900sa_ReadNowTime(void);
extern void Rx8900sa_ReadAlarm(void);
extern void rx8900sa_ClearAlarmFlag(void);
#endif


![[RK3288][Android6.0] RTC模块RX8010SJ驱动添加及改动](https://img-blog.csdn.net/20170626201442918?watermark/2/text/aHR0cDovL2Jsb2cuY3Nkbi5uZXQva3Jpc19mZWk=/font/5a6L5L2T/fontsize/400/fill/I0JBQkFCMA==/dissolve/70/gravity/SouthEast)