目录
1、nginx源码包编译以及安装依赖
1、配置安装所需的编译环境
2、安装函数库(pcre、zlib、openssl)
2、安装nginx
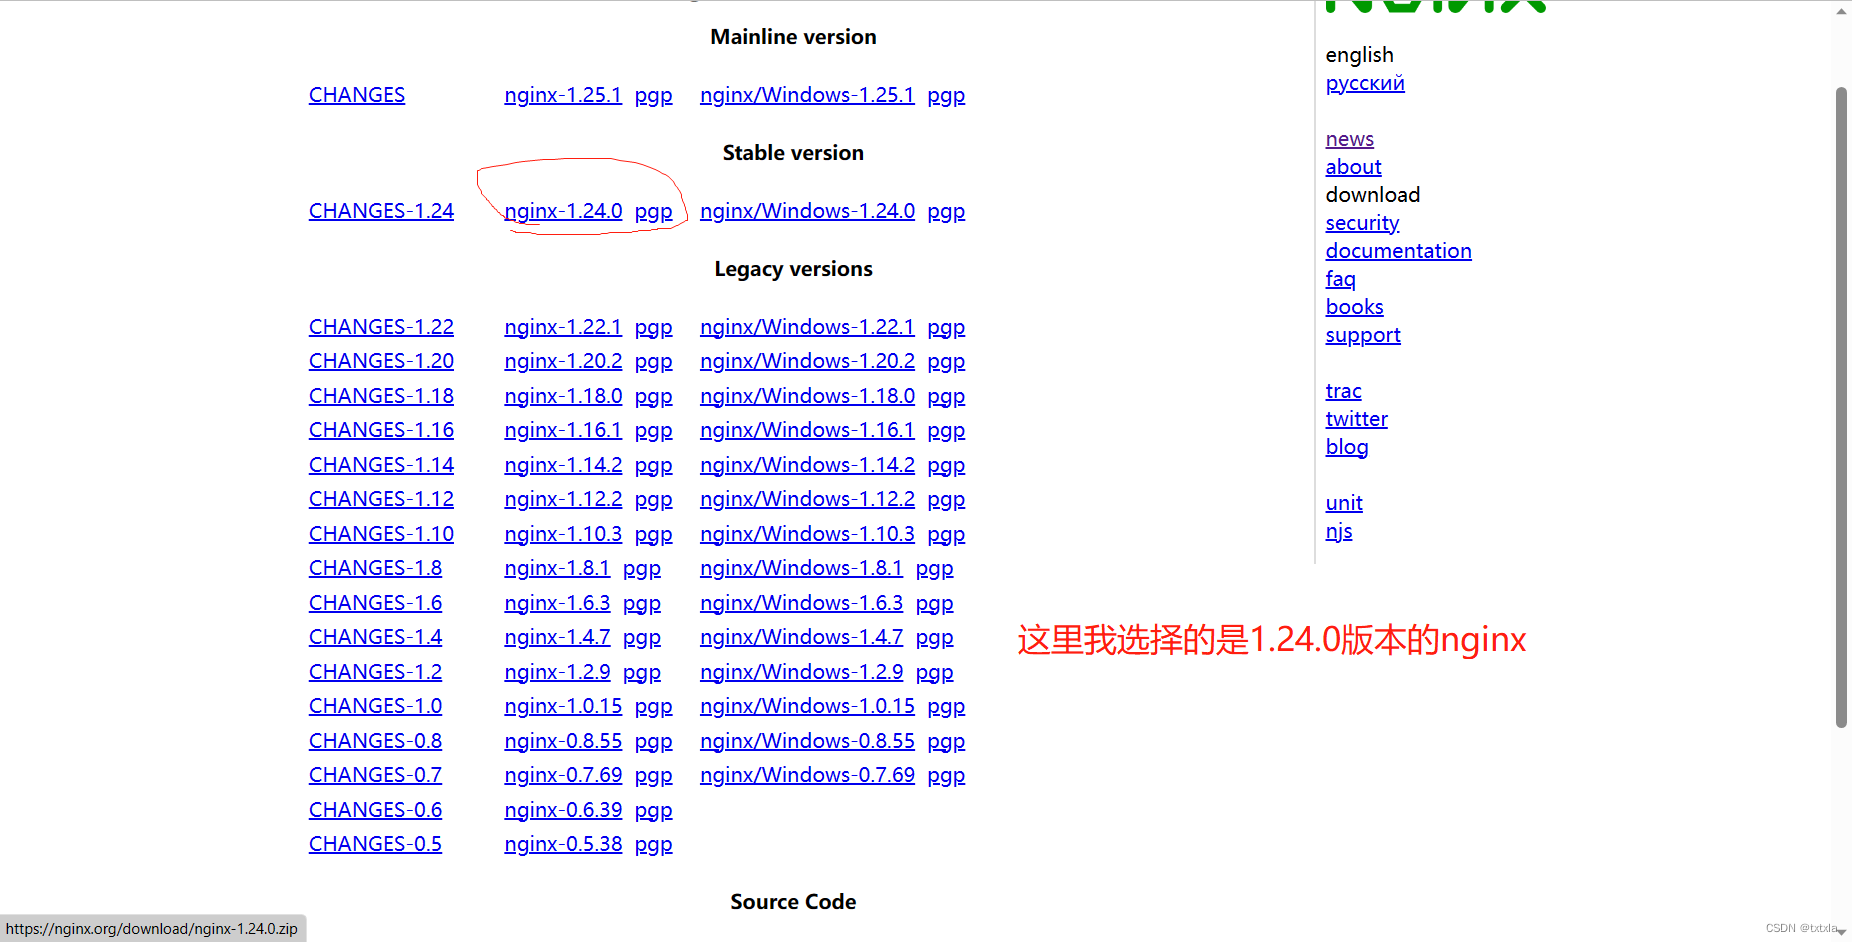
1、获取源码包
2、解压编译
3、启动nginx服务
1、关闭防火墙
2、运行nginx
3、使用本地浏览器进行验证
3、安装docker
1、查看操作系统发行版本以及清空安装的旧版本
2、安装docker环境
3、安装docker
4、测试
4、在dockers上拉取nginx镜像挂载
1、nginx源码包编译以及安装依赖
1、配置安装所需的编译环境
[root@localhost /]# yum install -y gcc gcc-c++
2、安装函数库(pcre、zlib、openssl)
[root@localhost /]# yum install -y pcre pcre-devel #安装pcre库[root@localhost /]# yum install -y zlib zlib-devel #安装zlib库[root@localhost /]# yum install -y openssl-devel #安装openssl库
2、安装nginx
1、获取源码包
[root@localhost /]# mkdir nginxfile
[root@localhost /]# cd nginxfile/[root@localhost nginxfile]# wget https://nginx.org/download/nginx-1.24.0.tar.gz   #下载nginx源码包
2、解压编译
[root@localhost nginxfile]# tar -zxvf nginx-1.24.0.tar.gz   #解压源码包#编译配置
[root@localhost nginxfile]# cd nginx-1.24.0/
[root@localhost nginx-1.24.0]# ./configure --with-http_ssl_module
[root@localhost nginx-1.24.0]# ./configure --with-stream
[root@localhost nginx-1.24.0]# ./configure[root@localhost nginx-1.24.0]# make && make install   #执行安装
3、启动nginx服务
1、关闭防火墙
[root@localhost sbin]# systemctl stop firewalld.service
[root@localhost sbin]# systemctl status firewalld.service
2、运行nginx
[root@localhost nginx-1.24.0]# cd /usr/local/nginx/sbin/
[root@localhost sbin]# ls
nginx[root@localhost sbin]# ./nginx    #执行nginx#查看nginx的进程开启情况
[root@localhost sbin]# ps -aux | grep nginx
root       72876  0.0  0.0  34444   384 ?        Ss   21:27   0:00 nginx: master process ./nginx
nobody     72877  0.0  0.2  66624  3932 ?        S    21:27   0:00 nginx: worker process
root       72887  0.0  0.0  12136  1120 pts/2    R+   21:28   0:00 grep --color=auto nginx
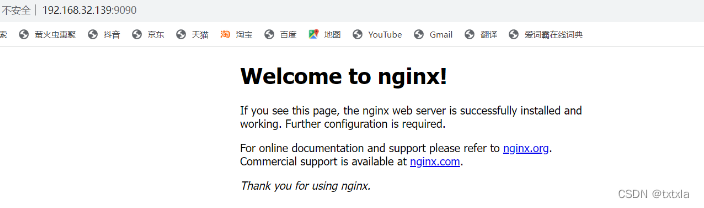
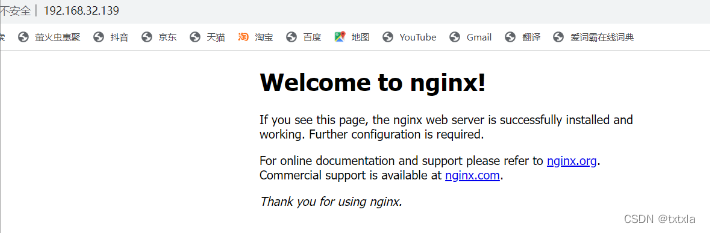
3、使用本地浏览器进行验证
3、安装docker
1、查看操作系统发行版本以及清空安装的旧版本
[root@localhost /]# uname -r
4.18.0-348.el8.x86_64#卸载旧的docker版本
[root@localhost /]# yum remove docker \docker-client \docker-client-latest \docker-common \docker-latest \docker-latest-logrotate \docker-logrotate \docker-engine
2、安装docker环境
#安装yum-utils
[root@localhost /]# yum install -y yum-utils#添加库
[root@localhost /]# yum-config-manager \
--add-repo \
http://mirrors.aliyun.com/docker-ce/linux/centos/docker-ce.repo#安装makecache
[root@localhost /]# yum makecache
3、安装docker
[root@localhost /]# yum install docker-ce docker-ce-cli containerd.io docker-compose-plugin
安装时可能会报错,我们一般会这样去解决
#运行以下内容
[root@localhost /]# yum erase podman buildah#重新进行安装
[root@localhost /]# yum install docker-ce docker-ce-cli containerd.io docker-compose-plugin
随后启动docker
[root@localhost /]# systemctl start docker
[root@localhost /]# systemctl status docker
● docker.service - Docker Application Container EngineLoaded: loaded (/usr/lib/systemd/system/docker.service; disabled; vendor preset>   Active: active (running) since Wed 2023-08-09 00:51:52 CST; 9s ago
4、测试
[root@localhost /]# docker run hello-world
[rootelocalhost /]# docker run hello-world
Unable to find image 'hello-world:latest' locally
latest: Pulling from library/hello-world
719385e32844: Pull complete
Digest: sha256:926fac19d22aa2d60f1a276b66a20eb765fbeea2db5dbdaafeb456ad8ce81598Status: Downloaded newer image for hello-world:latestHello from Docker!This message shows that your installation appears to be working correctlyTo generate this message, Docker took the following steps:
1. The Docker client contacted the Docker daemon .
2. The Docker daemon pulled the "hello-world" image from the Docker Hub
4、在dockers上拉取nginx镜像挂载
拉取镜像
[root@localhost /]# docker pull nginx#查看本地镜像[root@localhost /]# docker images
REPOSITORY    TAG       IMAGE ID       CREATED        SIZE
nginx         latest    89da1fb6dcb9   11 days ago    187MB
hello-world   latest    9c7a54a9a43c   3 months ago   13.3kB
创建nginx服务以及挂载本地nginx配置文件
#创建运行一个nginx容器同时挂载本地文件[root@localhost ~]# docker run --name nginx-test -p 9090:80 -d -v /usr/local/nginx/conf:/usr/share/nginx/conf -v /usr/local/nginx/html:/usr/share/nginx/html -v /etc/nginx/conf.d:/usr/share/nginx/conf.d nginx
38e38f4ea4534594b8b8cdcebee6bee843debbf8a18c82904ea5ac7f63efc283[root@localhost conf]# docker ps
CONTAINER ID   IMAGE     COMMAND                  CREATED         STATUS         PORTS                                   NAMES
38e38f4ea453   nginx     "/docker-entrypoint.…"   4 minutes ago   Up 4 minutes   0.0.0.0:9090->80/tcp, :::9090->80/tcp   nginx-test
查看端口映射情况