SpringSecurity6从入门到实战之自定义登录页面
在使用SpringSecurity进行认证操作的时候,可以发现默认提供的登录页面比较简陋.那么我们能否对登录页面进行自定义配置呢?接下来开始讲解应该如何进行配置
自定义登录页面流程
引入模板依赖
由于自定义登录页面会使用到前端相关技术,这里需要引入thymeleaf依赖
<!--thymeleaf-->
<dependency><groupId>org.springframework.boot</groupId><artifactId>spring-boot-starter-thymeleaf</artifactId>
</dependency>
在 templates 中定义登录界面
<!DOCTYPE html>
<html lang="en" xmlns:th="https://www.thymeleaf.org">
<head><meta charset="UTF-8"><title>自定义登录页面</title>
</head>
<body>
<h1>用户登录</h1>
<form method="post" th:action="@{/doLogin}">用户名:<input name="uname" type="text"/><br>密码:<input name="upass" type="password"/><br><input type="submit" value="登录"/>
</form>
</body>
</html>
定义登录页面 controller
新建LoginController
java">@Controller
public class LoginController {@RequestMapping("/login.html")public String login() {return "login";}
}
这里直接访问localhost:8080/login.html会发现还是会需要进行认证操作,因为我们在自定义配置中还没有进行放行
定义 Spring Security 配置类
java">@Configuration
@EnableWebSecurity
public class MySecurityConfig {// 自定义表单认证@Beanpublic SecurityFilterChain securityFilterChain(HttpSecurity http) throws Exception {http.authorizeHttpRequests().requestMatchers("/test").permitAll() // 放行该资源.requestMatchers("/login.html").permitAll() // 放行该资源.anyRequest().authenticated() // 其它请求 必须先认证通过后 才能访问.and().formLogin() // 开启表单认证.loginPage("/login.html")  // 默认登录页.loginProcessingUrl("/doLogin")  // 处理登录请求的url.usernameParameter("uname") // 用户名文件框的名称.passwordParameter("upass") // 密码框的名称.and().csrf().disable();  //关闭 CSRF;return http.build();}
}
可以发现这里的配置项都是跟login.html中的内容一一对应
测试
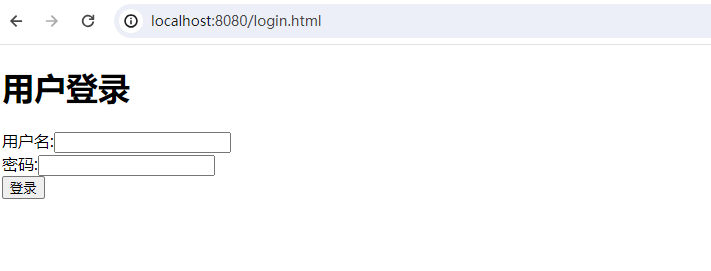
这里就可以发现访问需要认证的/hello会跳转到我们自定义的登录页面来了
输入账号密码进行认证
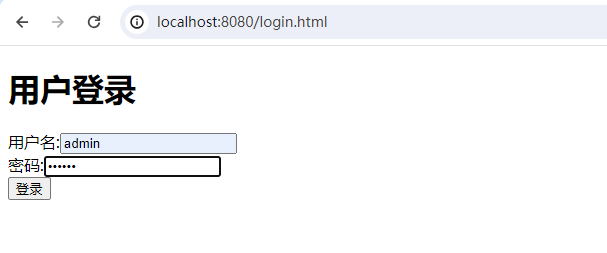

最终发现通过认证操作可以访问/hello接口了

