神经网络 - 线性层及其他层介绍
1.批标准化层–归一化层(不难,自学看官方文档)
Normalization Layers
torch.nn — PyTorch 1.10 documentation
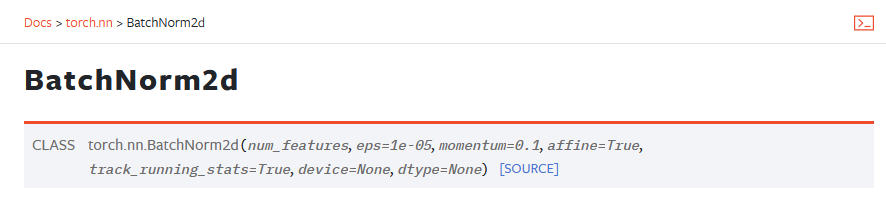
BatchNorm2d — PyTorch 1.10 documentation
对输入采用Batch Normalization,可以加快神经网络的训练速度
CLASS torch.nn.BatchNorm2d(num_features, eps=1e-05, momentum=0.1, affine=True, track_running_stats=True, device=None, dtype=None)
# num_features C-输入的channel
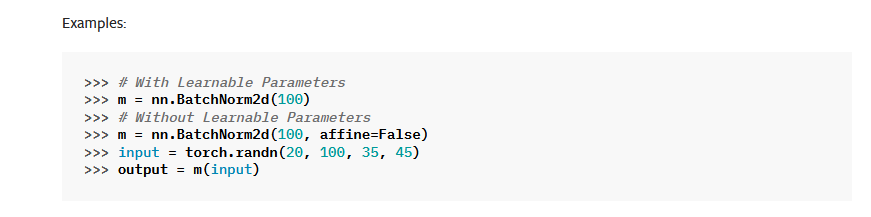
# With Learnable Parameters
m = nn.BatchNorm2d(100)
# Without Learnable Parameters
m = nn.BatchNorm2d(100, affine=False)  # 正则化层num_feature等于channel,即100
input = torch.randn(20, 100, 35, 45)   #batch_size=20,100个channel,35x45的输入
output = m(input)
2.Recurrent Layers(特定网络中使用,自学)
RNN、LSTM等,用于文字识别中,特定的网络结构
torch.nn — PyTorch 1.13 documentation

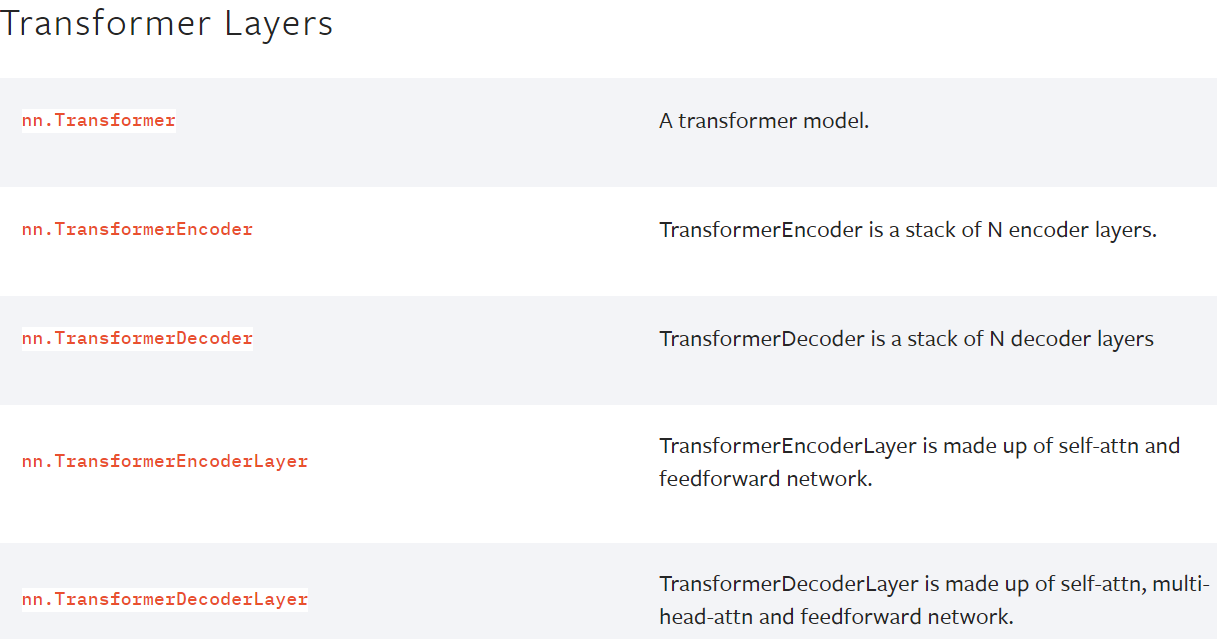
3.Transformer Layers(特定网络中使用,自学)
特定网络结构
torch.nn — PyTorch 1.13 documentation
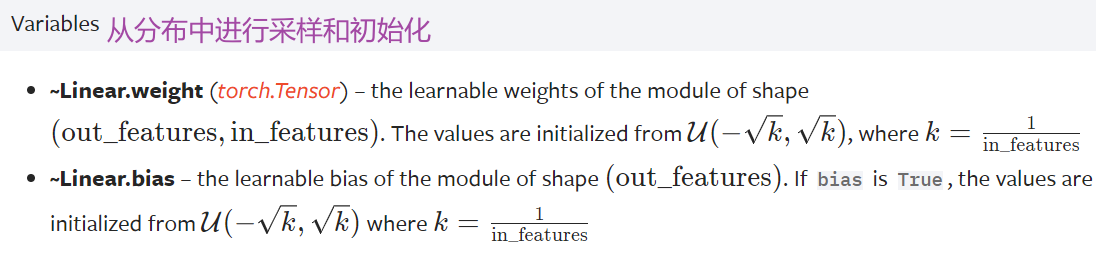
4.Linear Layers–线性层(本节讲解)–使用较多
网站地址:Linear — PyTorch 1.10 documentation

d代表特征数,L代表神经元个数 K和b在训练过程中神经网络会自行调整,以达到比较合理的预测

下面以一个简单的网络结果VGG16模型为例
5.代码实例 vgg16 model

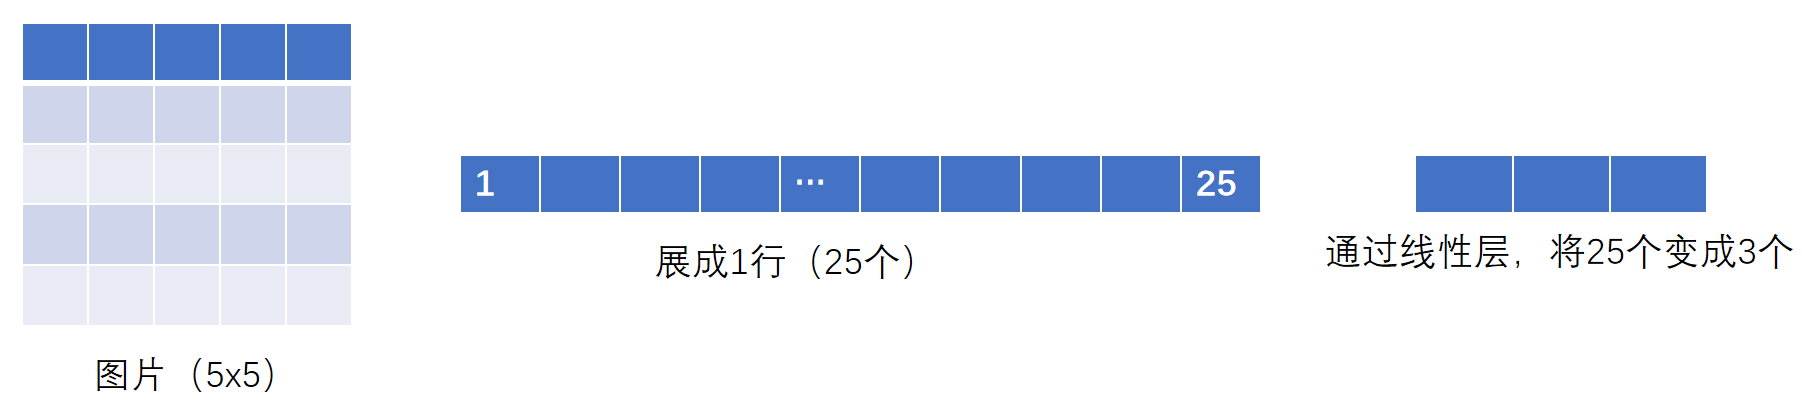
flatten 摊平
torch.flatten — PyTorch 1.10 documentation
# Example
>>> t = torch.tensor([[[1, 2],[3, 4]],[[5, 6],[7, 8]]])   #3个中括号,所以是3维的
>>> torch.flatten(t)  #摊平
tensor([1, 2, 3, 4, 5, 6, 7, 8])
>>> torch.flatten(t, start_dim=1)  #变为1行
tensor([[1, 2, 3, 4],[5, 6, 7, 8]])
- reshape():可以指定尺寸进行变换
- flatten():变成1行,摊平
output = torch.flatten(imgs)
# 等价于
output = torch.reshape(imgs,(1,1,1,-1))for data in dataloader:imgs,targets = dataprint(imgs.shape)  #torch.Size([64, 3, 32, 32])output = torch.reshape(imgs,(1,1,1,-1))  # 想把图片展平print(output.shape)  # torch.Size([1, 1, 1, 196608])output = tudui(output)print(output.shape)  # torch.Size([1, 1, 1, 10])for data in dataloader:imgs,targets = dataprint(imgs.shape)  #torch.Size([64, 3, 32, 32])output = torch.flatten(imgs)   #摊平print(output.shape)   #torch.Size([196608])output = tudui(output)print(output.shape)   #torch.Size([10])
我们想实现下面这个:
import torch
import torchvision.datasets
from torch import nn
from torch.nn import Linear
from torch.utils.data import DataLoader
from torch.utils.tensorboard import SummaryWriterdataset = torchvision.datasets.CIFAR10("./dataset", train=False, transform=torchvision.transforms.ToTensor())
dataloader = DataLoader(dataset, batch_size=64, drop_last=True)class Tudui(nn.Module):def __init__(self):super(Tudui, self).__init__()self.linear1 = Linear(196608, 10)def forward(self, input):output = self.linear1(input)return outputtudui = Tudui()
writer = SummaryWriter("logs")
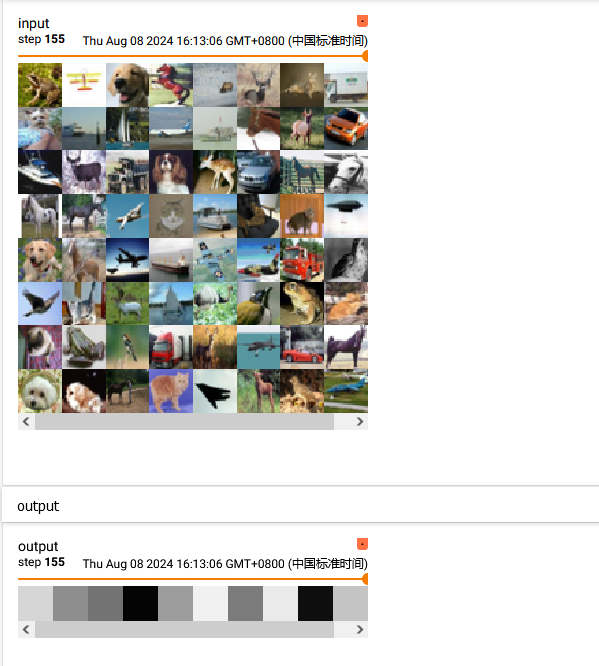
step = 0for data in dataloader:imgs, targets = dataprint(imgs.shape) # torch.Size([64, 3, 32, 32])writer.add_images("input", imgs, step)output = torch.reshape(imgs,(1,1,1,-1)) # 方法一:用reshape把图片拉平,另一种办法直接用torch.flatten(imgs)摊平# print(output.shape) # torch.Size([1, 1, 1, 196608])# output = tudui(output)# print(output.shape) # torch.Size([1, 1, 1, 10])#output = torch.flatten(imgs) #方法二 摊平print(output.shape) # torch.Size([196608])output = tudui(output)print(output.shape) # torch.Size([10])writer.add_images("output", output, step)step = step + 1

运行后在 terminal 里输入:
tensorboard --logdir=logs
运行结果如下:
6.Dropout Layers(不难,自学)
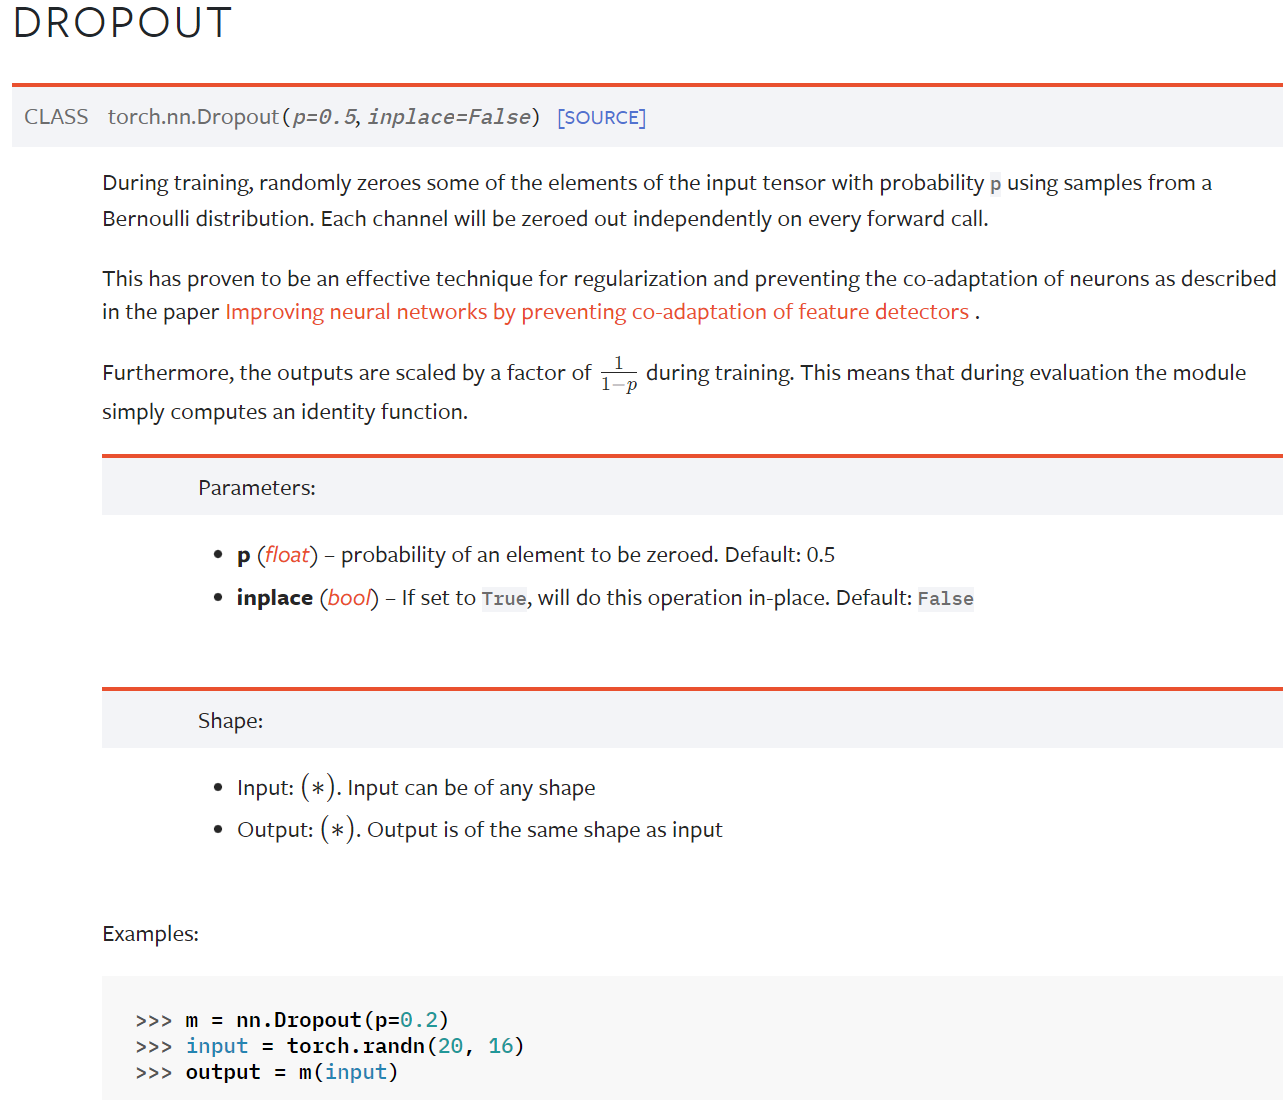
Dropout — PyTorch 1.10 documentation
在训练过程中,随机把一些 input(输入的tensor数据类型)中的一些元素变为0,变为0的概率为p
目的:防止过拟合
7.Sparse Layers(特定网络中使用,自学)
Embedding
Embedding — PyTorch 1.10 documentation
用于自然语言处理
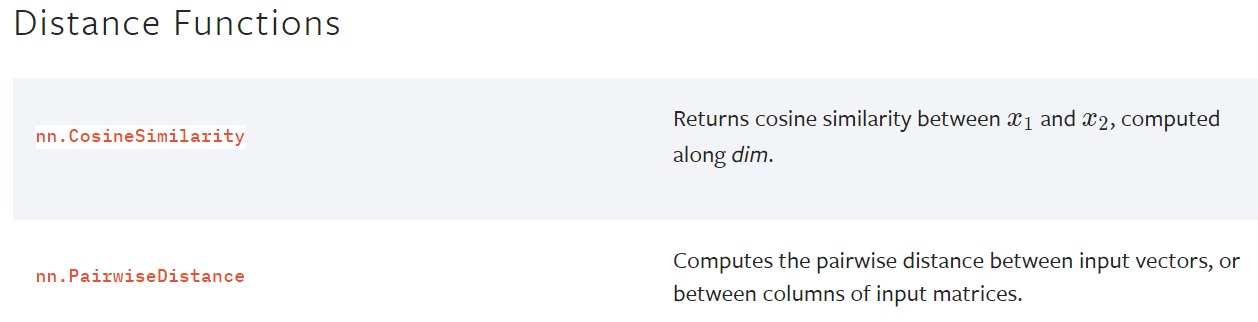
8.Distance Functions
计算两个值之间的误差
torch.nn — PyTorch 1.13 documentation
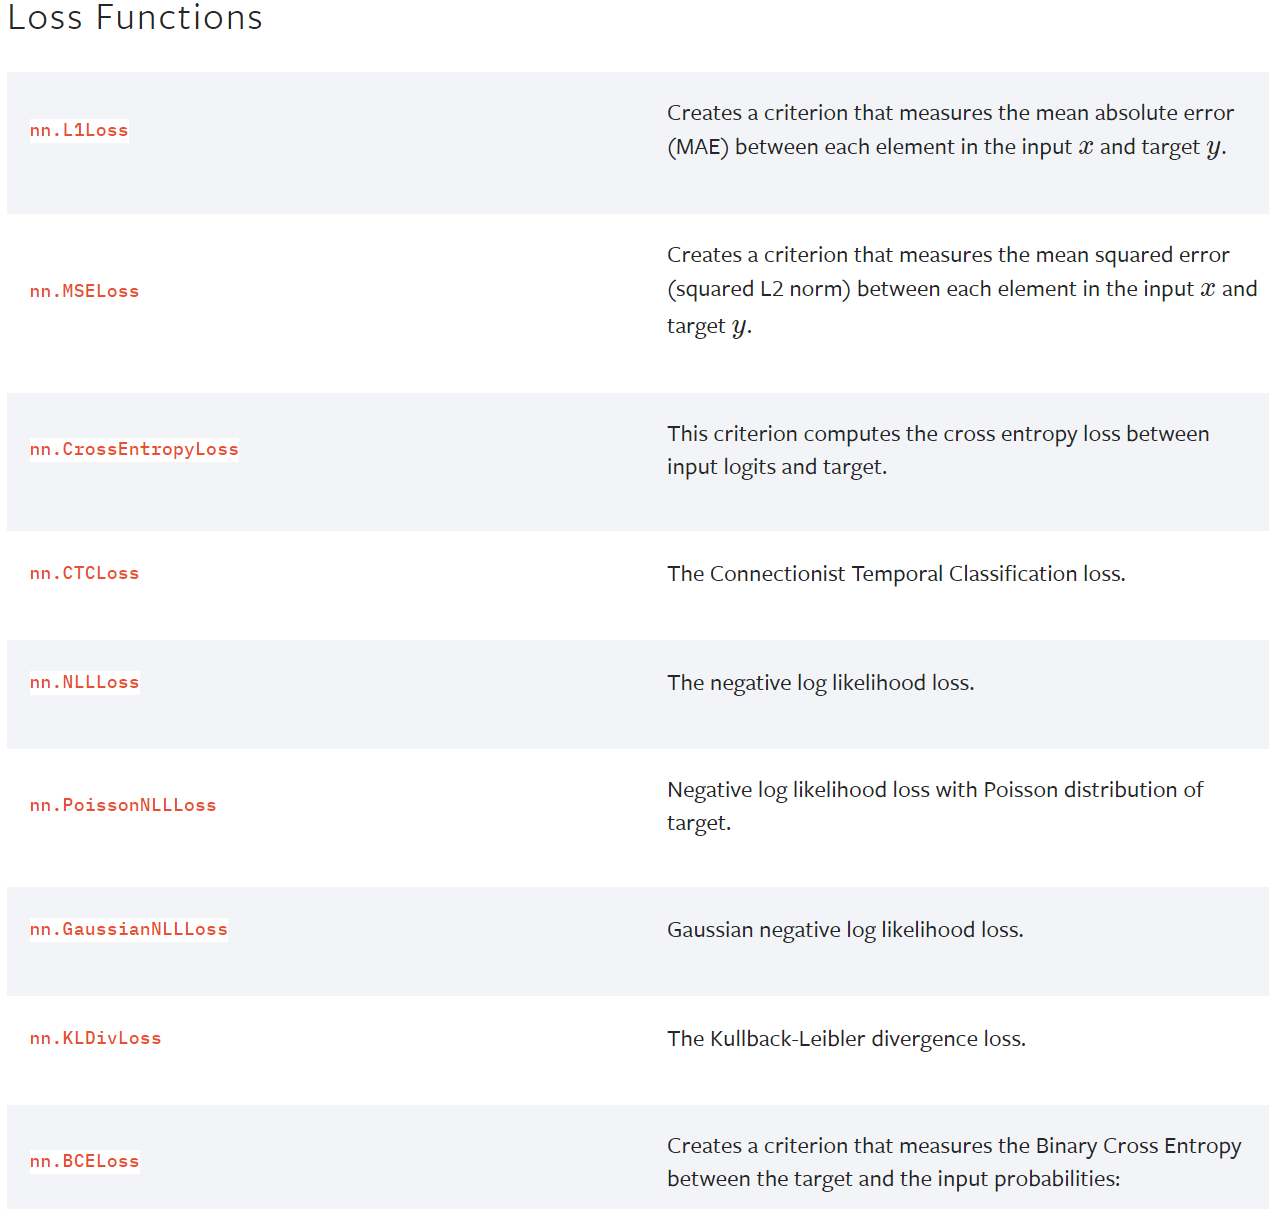
9. Loss Functions
loss 误差大小
torch.nn — PyTorch 1.13 documentation
-
pytorch提供的一些网络模型
图片相关:torchvision torchvision.models — Torchvision 0.11.0 documentation
分类、语义分割、目标检测、实例分割、人体关键节点识别(姿态估计)等等文本相关:torchtext 无
语音相关:torchaudio torchaudio.models — Torchaudio 0.10.0 documentation
下一节:Container ——> Sequential(序列)
hvision 0.11.0 documentation
分类、语义分割、目标检测、实例分割、人体关键节点识别(姿态估计)等等
文本相关:torchtext   无
语音相关:torchaudio  torchaudio.models — Torchaudio 0.10.0 documentation
下一节:Container ——> Sequential(序列)