上一期,我们已经把大致的框架给完成了,那么今天,我们就把剩下的什么复制啊,改变字体啊什么的给做一下。
那我们就一步一步的来就可以了:
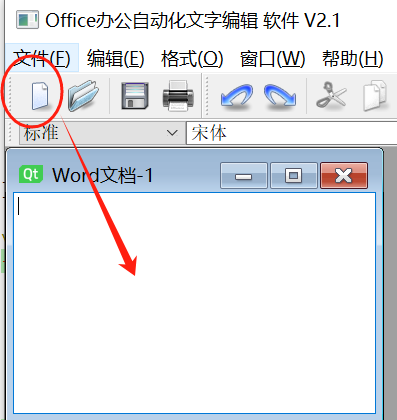
新建word:
void MyWord::fileNew()
{qDebug()<<"hhh";MyChild *child=createMyChild();child->NewFile();child->show();enabledText();//使得 字体设置菜单可用
}我们就是创建一个child,然后调用child.cpp中的创建就可以了,最后别忘了加上enabledText(),这样能使得字体设置菜单可用。这样我们就新建了一个word文档。
下一步打开文档:
再打开之前,要先定义一个QString,来保存要打开的文件名称,如果不为空就判断是否已经打开,已经打开过的话,就设置子窗口为活动窗口,没有打开的话,就直接加载到子窗口来。
void MyWord::fileOpen()
{QString filename=QFileDialog::getOpenFileName(this,tr("打开"),QString(),tr("HTML 文档(*.htm *.html);;所有文件(*.*)"));if(!filename.isEmpty()){QMdiSubWindow *existing=findMyChild(filename);if(existing){
//如果发现该文件已经打开,则直接设置为子窗口为活动窗口mdiArea->setActiveSubWindow(existing);return ;}MyChild  *child=createMyChild();
//如果文件没有打开则直接加载要打开的文件,并添加新的子窗口if(child->LoadFile(filename)){statusBar()->showMessage(tr("文件已经加载"),2000);child->show();enabledText();}else{child->close();}}
}
接着就是保存以及另存为:直接调用就好:
void MyWord::fileSave()
{if(activeMyChild()&&activeMyChild()->Save()){statusBar()->showMessage(tr("word文档保存成功."),2000);}
}
void MyWord::fileSaveAs()
{if(activeMyChild()&&activeMyChild()->SaveAs()){statusBar()->showMessage(tr("word文档另存为成功"));}
}
撤销,粘贴,复制等操作也是如此:
(系统里都有,那我们为何不直接使用呢?)
void MyWord::undo()
{if(activeMyChild()){activeMyChild()->undo();}
}void MyWord::redo()
{if(activeMyChild()){activeMyChild()->redo();}
}void MyWord::cut()
{if(activeMyChild()){activeMyChild()->cut();}
}void MyWord::copy()
{if(activeMyChild()){activeMyChild()->copy();}
}void MyWord::paste()
{if(activeMyChild()){activeMyChild()->paste();}
}void MyWord::undo()
{if(activeMyChild()){activeMyChild()->undo();}
}void MyWord::redo()
{if(activeMyChild()){activeMyChild()->redo();}
}void MyWord::cut()
{if(activeMyChild()){activeMyChild()->cut();}
}void MyWord::copy()
{if(activeMyChild()){activeMyChild()->copy();}
}void MyWord::paste()
{if(activeMyChild()){activeMyChild()->paste();}
}
加粗,倾斜:
要新建一个QTextFormat 用来判断是否已经加粗了,没有加粗我们直接进行加粗,有的话变为正常。在调用一下mychild中的函数格式字体。倾斜下划线同理:
void MyWord::textBold()
{QTextCharFormat fmt;fmt.setFontWeight(boldAct->isChecked()?QFont::Bold:QFont::Normal);if(activeMyChild()){activeMyChild()->MergeFormationOnWordOrSelection(fmt);}
}
void MyWord::textIalic()
{QTextCharFormat fmt;fmt.setFontItalic(italicAct->isChecked());if(activeMyChild()){activeMyChild()->MergeFormationOnWordOrSelection(fmt);}
}void MyWord::textUnderline()
{QTextCharFormat fmt;fmt.setFontUnderline(underlineAct->isChecked());if(activeMyChild()){activeMyChild()->MergeFormationOnWordOrSelection(fmt);}
}
对齐
设置对其,我们就是要判断是什么对齐方法,跟据你选中的来设置。
void MyWord::textAlign(QAction *a)
{if(activeMyChild()){if(a==leftAlignAct){activeMyChild()->SetAlign(1);}else if(a==centerAct){activeMyChild()->SetAlign(2);}else if(a==rightAlignAct){activeMyChild()->SetAlign(3);}else if(a==justifyAct){activeMyChild()->SetAlign(4);}}
}
设置段落风格:
void MyWord::textStyle(int styleIndex)
{if(activeMyChild()){activeMyChild()->SetStyle(styleIndex);}
}
字体选择框:
void MyWord::textFamily(const QString &f)
{QTextCharFormat fmt;fmt.setFontFamily(f);if(activeMyChild()){activeMyChild()->MergeFormationOnWordOrSelection(fmt);}
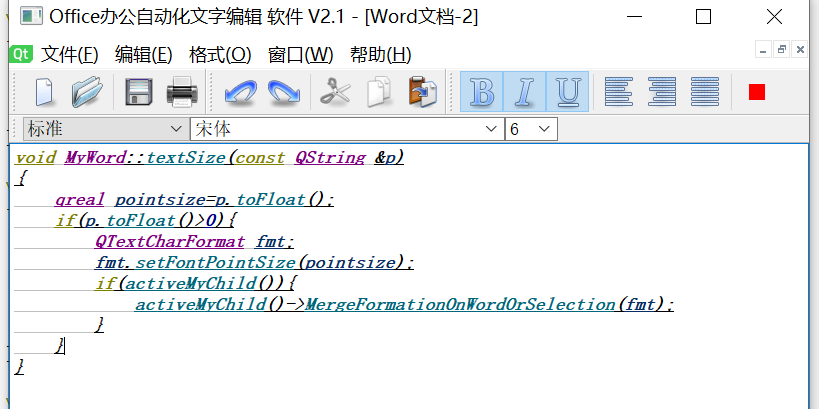
}文本大小:
void MyWord::textSize(const QString &p)
{qreal pointsize=p.toFloat();if(p.toFloat()>0){QTextCharFormat fmt;fmt.setFontPointSize(pointsize);if(activeMyChild()){activeMyChild()->MergeFormationOnWordOrSelection(fmt);}}
}
效果如图:
void MyWord::textColor()
{if(activeMyChild()){QColor color=QColorDialog::getColor(activeMyChild()->textColor(),this);if(!color.isValid()){return ;}QTextCharFormat fmt;
//将画板设置为前台显示fmt.setForeground(color);activeMyChild()->MergeFormationOnWordOrSelection(fmt);colorChanged(color);}
}
void MyWord::fontChanged(const QFont &f)
{comboFont->setCurrentIndex(comboFont->findText(QFontInfo(f).family()));comboSize->setCurrentIndex(comboSize->findText(QString::number(f.pointSize())));boldAct->setChecked(f.bold());italicAct->setChecked(f.italic());underlineAct->setChecked(f.underline());
}void MyWord::colorChanged(const QColor &c)
{QPixmap pix(16,16);pix.fill(c);colorAct->setIcon(pix);
}void MyWord::alignmentChange(Qt::Alignment a)
{if(a & Qt::AlignLeft)leftAlignAct->setChecked(true);else if(a & Qt::AlignCenter)centerAct->setChecked(true);else if(a & Qt::AlignRight)rightAlignAct->setChecked(true);else if(a & Qt::AlignJustify)justifyAct->setChecked(true);
}void MyWord::about()
{QMessageBox::about(this,tr("关于"),tr("此软件是基于Qt5实现的文字处理软件!!!"));}
void MyWord::filePrintfPreview()
{QPrinter printer(QPrinter::HighResolution);QPrintPreviewDialog preview(&printer,this);connect(&preview,SIGNAL(paintRequested(QPinter*)),this,SLOT(printPreview(QPrinter*)));
}void MyWord::printPrint()
{QPrinter printer(QPrinter::HighResolution);QPrintDialog *pdlg=new QPrintDialog(&printer,this);if(activeMyChild()->textCursor().hasSelection()){pdlg->addEnabledOption(QAbstractPrintDialog::PrintSelection);}pdlg->setWhatsThis(tr("打印文档"));if(pdlg->exec()==QDialog::Accepted){activeMyChild()->print(&printer);}delete pdlg;}这是一个Qt框架下的打印功能实现,可以实现打印预览和打印文档的功能。具体解释如下:
- - `void MyWord::filePrintfPreview()` 函数定义了打印预览的功能。首先创建了一个 `QPrinter` 对象,然后通过 `QPrintPreviewDialog` 类来实现打印预览对话框,并且连接了 `paintRequested()` 信号到 `printPreview(QPrinter*)` 槽函数。当用户在预览对话框中点击打印按钮时,槽函数将被调用。
- - `void MyWord::printPrint()` 函数定义了打印文档的功能。同样创建了一个 `QPrinter` 对象,然后使用 `QPrintDialog` 类来弹出打印对话框,可以选择打印全部或者只打印选中部分。当用户点击确定按钮时,将激活当前文档编辑器中的 `print()` 函数进行打印操作。
基本差不多就完工了。应该没有什么遗漏了吧。
做这个小项目主要也就是对之前学习的一个回顾与总结,这个项目也并不是多难,熟悉一下之前使用过的一些函数,整体并不是很难,之后再做什么大项目,也是有一个个小项目组合而来,慢慢写就好了。