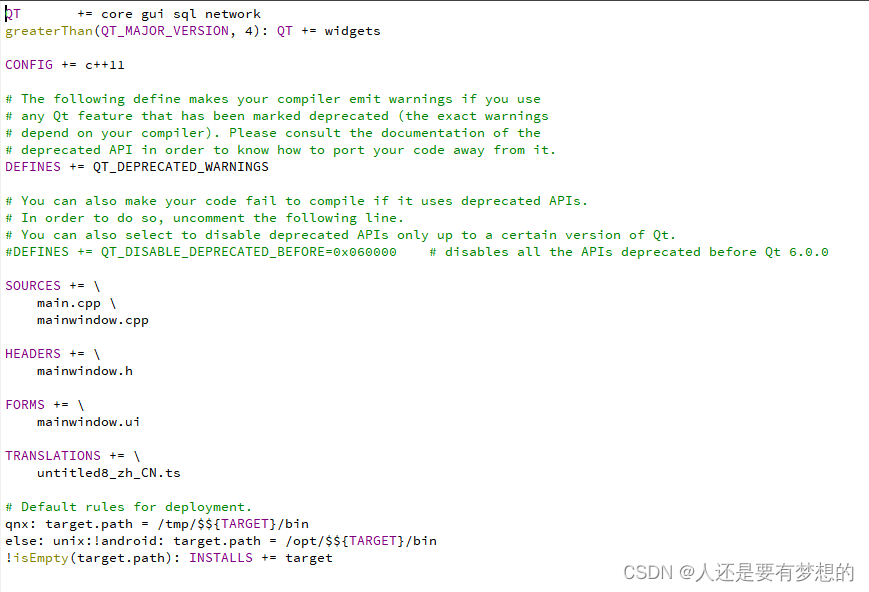
Qt做客户端与服务器端交互第一步引入network
第一步引入network后继续编程首先界面设计
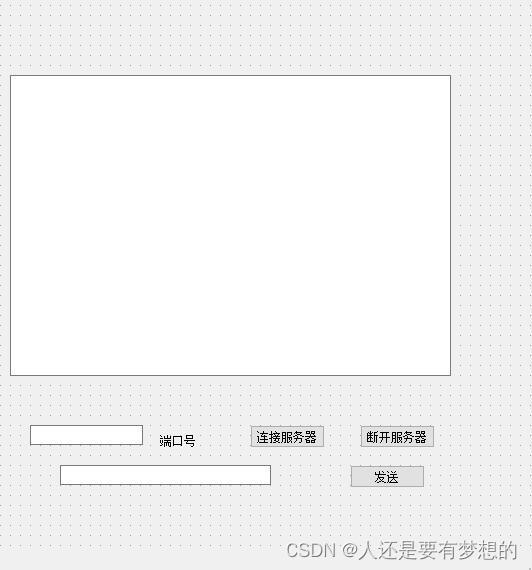
创建server和socket
引入QTcpServer,QTcpSocket
MainWindow.h代码如下
#ifndef MAINWINDOW_H
#define MAINWINDOW_H#include <QMainWindow>
#include <QTcpServer>
#include <QTcpSocket>
QT_BEGIN_NAMESPACE
namespace Ui { class MainWindow; }
QT_END_NAMESPACEclass MainWindow : public QMainWindow
{Q_OBJECTpublic:MainWindow(QWidget *parent = nullptr);~MainWindow();QTcpServer *tcpserver;QTcpSocket *tcpsocket;QList<QTcpSocket*> listClient;void onButtonClicked();void onButtonClicked1();
private slots:void on_connectbt_clicked();void on_disconnectbt_clicked();void on_sendbt_clicked();void newConnection_Slot();void readyRead_Slot();private:Ui::MainWindow *ui;
};
#endif // MAINWINDOW_H
然后绑定IP和端口号:
tcpserver->listen(QHostAddress::Any,ui->portnum->text().toUInt());//监听端口号
qDebug()<<"服务器已经打开;端口号是"<<ui->portnum->text();
tcpserver=new QTcpServer(this);
tcpsocket=new QTcpSocket(this);
connect(tcpserver,SIGNAL(newConnection()),this,SLOT(newConnection_Slot()));
服务器端代码MainWindow.cpp如下,包括socket连接,读,写
#include "mainwindow.h"
#include "ui_mainwindow.h"
#include<QComboBox>
#include<QLineEdit>
#include<QPushButton>
#include<QTcpSocket>
#include<QDebug>
MainWindow::MainWindow(QWidget *parent): QMainWindow(parent), ui(new Ui::MainWindow)
{ui->setupUi(this);tcpserver=new QTcpServer(this);tcpsocket=new QTcpSocket(this);connect(tcpserver,SIGNAL(newConnection()),this,SLOT(newConnection_Slot()));connect(ui->pushButton, &QPushButton::clicked, this, &MainWindow::on_sendbt_clicked);connect(ui->pushButton_2, &QPushButton::clicked, this, &MainWindow::on_connectbt_clicked);connect(ui->pushButton_3, &QPushButton::clicked, this, &MainWindow::on_disconnectbt_clicked);connect(ui->pushButton_4, &QPushButton::clicked, this, &MainWindow::onButtonClicked);connect(ui->pushButton_5, &QPushButton::clicked, this, &MainWindow::onButtonClicked1);//connect(ui->pushButton_3, &QPushButton::clicked, this, &MainWindow::on_disconnectbt_clicked);
}
//单发命令void MainWindow::newConnection_Slot(){tcpsocket=tcpserver->nextPendingConnection();listClient.append(tcpsocket);qDebug() << listClient.count();//qDebug() << tcpsocket;ui->comboBox->addItem("客户端"+QString::number(listClient.count())+"号");//for(int i=0;i<listClient.count();i++)//{//tcpsocket=listClient.at(i);qDebug()<<tcpsocket;//connect(tcpsocket,SIGNAL(readyRead()),this,SLOT(readyRead_Slot()));connect(tcpsocket, &QTcpSocket::readyRead,[=](){//从通信套接字中取出内容QString buf;buf=tcpsocket->readAll();ui->receivewd->append(buf);});//}
}
void MainWindow::readyRead_Slot()
{//第四步:读取套接字的内容//从socket中读出数据QString buf;buf=tcpsocket->readAll();ui->receivewd->append(buf);/*或QByteArray baArray = tcpsocket->readAll();QString sMsg = baArray;ui->receivewd->appendPlainText(receivewd);*/
}
void MainWindow::on_connectbt_clicked()//连接服务器
{//第二部步:listen------监听是否有新的连接进来tcpserver->listen(QHostAddress::Any,ui->portnum->text().toUInt());//监听端口号qDebug()<<"服务器已经打开;端口号是"<<ui->portnum->text();
}
void MainWindow::on_disconnectbt_clicked()//关闭服务器
{tcpserver->close();
}void MainWindow::on_sendbt_clicked()//发送信息
{
// toLatin1()
// tcpsocket->write(ui->sendwd->text().toLatin1());
// tcpsocket->write(ui->sendwd->text().toLocal8Bit(),ui->sendwd->text().length());for(int i=0;i<listClient.count();i++){tcpsocket=listClient.at(i);tcpsocket->write(ui->sendwd->text().toLocal8Bit().data());}
}
MainWindow::~MainWindow()
{delete ui;
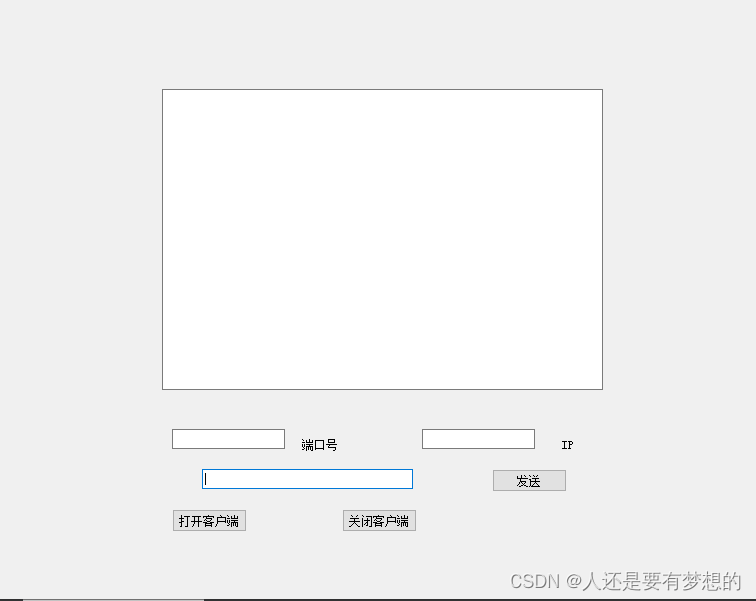
}客户端代码如下:客户端界面
MainWindow.h文件:
#ifndef MAINWINDOW_H
#define MAINWINDOW_H#include <QMainWindow>
#include <QTcpServer>
#include <QTcpSocket>
QT_BEGIN_NAMESPACE
namespace Ui { class MainWindow; }
QT_END_NAMESPACEclass MainWindow : public QMainWindow
{Q_OBJECTpublic:MainWindow(QWidget *parent = nullptr);~MainWindow();QTcpSocket *tcpsocket;
private slots:void on_openclient_clicked();void connected_SLOT();void readyRead_Slot();void on_closeclient_clicked();void on_sent_clicked();
private:Ui::MainWindow *ui;
};
#endif // MAINWINDOW_H
客户端代码MainWindow.cpp
#include "mainwindow.h"
#include "ui_mainwindow.h"MainWindow::MainWindow(QWidget *parent): QMainWindow(parent), ui(new Ui::MainWindow)
{ui->setupUi(this);tcpsocket=new QTcpSocket(this);connect(ui->pushButton, &QPushButton::clicked, this, &MainWindow::on_sent_clicked);connect(ui->pushButton_2, &QPushButton::clicked, this, &MainWindow::on_openclient_clicked);connect(ui->pushButton_3, &QPushButton::clicked, this, &MainWindow::on_closeclient_clicked);
}MainWindow::~MainWindow()
{delete ui;
}
void MainWindow::connected_SLOT()
{QObject::connect(tcpsocket, &QTcpSocket::readyRead, this, &MainWindow::readyRead_Slot);
//    connect(tcpsocket,SIGNAL(readyRead()),this,SLOT(readyRead_Slot()));//将信号连接到槽,书写比较明确}
void MainWindow::readyRead_Slot()//定义接收信号的槽
{QString buf;buf=tcpsocket->readAll();int num=buf.toInt();switch(num){case 1:break;}ui->receivewd->append(buf);//接收由tcp发送过来的信息
//    ui->receivewd->appendPlainText(buf.toUtf8());//接收由tcp发送过来的信息
}void MainWindow::on_openclient_clicked()
{//第一步:创建套接字,与服务端的IP地址和端口号连接.//注:这里的端口号和上面服务端绑定的那个端口号是一样的,别搞错了.//连接服务端tcpsocket->connectToHost(ui->ipnum->text(),ui->portnum->text().toInt());//转为无符号,连接服务器端口connect(tcpsocket,SIGNAL(connected()),this,SLOT(connected_SLOT()));qDebug() << "连接服务器端成功IP是"<<ui->ipnum->text()<<"端口号是:"<<ui->portnum->text();/*//成功连接返回true,错误返回falseif(m_tsTcpSocket->waitForConnected()){qDebug() << "connect success";}*/
}void MainWindow::on_closeclient_clicked()
{tcpsocket->close();printf("关闭客户端 ");
}void MainWindow::on_sent_clicked()
{tcpsocket->write(ui->sendwd->text().toLocal8Bit().data(),ui->sendwd->text().length());//丽丽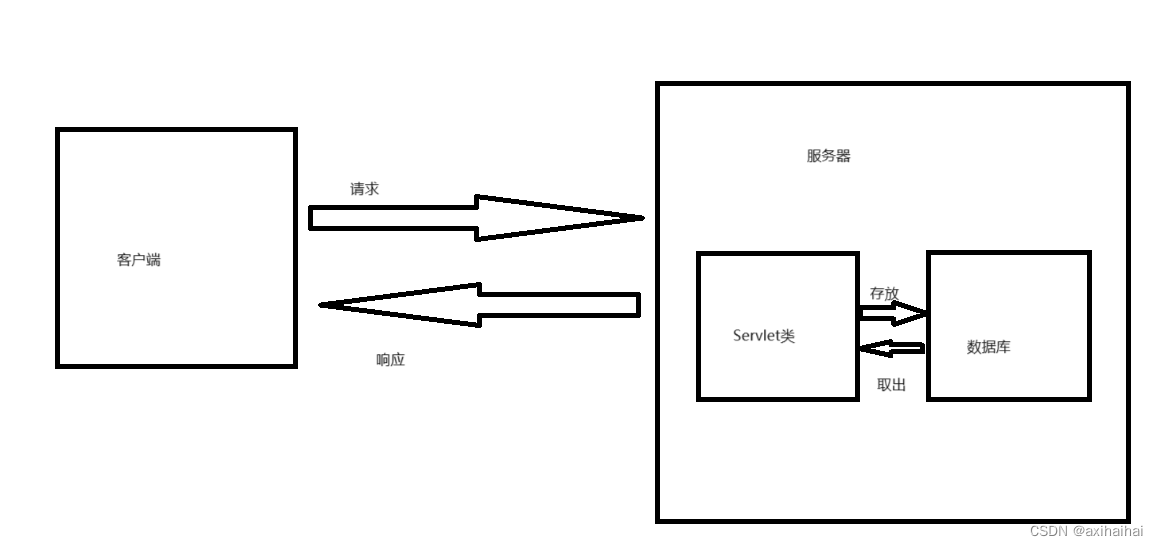
}客户端与服务器端交互,主要就是连接,读和写内容。