# Node13-图片存储接口本地
1、编写错误中间件
需要编写一个错误中间件,用来抛出错误,防止因为错误而造成接口崩溃
注意:错误中间件一定要放在所有路由之后
(1) 在所有路由之后放置中间件
js
app.use((err, req, res, next) => {// 如果错误是由token解析失败导致的if (err.name === 'UnauthorizedError') {return res.send({status: 401,message: '无效的token'})}// 如果是其他位置原因导致的错误res.send({status: 500,message: '未知的错误'})next()
})(2)我们请求本地的接口尝试
JS
http://localhost:8888/api/user/5`最后我们输出结果为:
js
{"code":401,"message":"无效的token"}2、图片存储接口
(1)思路
图片上传方案有三种
第一个方案是最好实现的,只需要将图片进行 base64 转码,再保存到数据库就可以了。但是有个问题,就是如果图片较大,就相当于把几百kb的数据保存到了数据库中,这明显不合理(😷)
第三个方案将上传到对象存储OSS服务上,这个是现在常用的上传方案。但奈何要钱啊,打算后面再去了解一下。
所以打算采用第二种方式来实现。
接下来我们实现一个本地图片上传接口/api/uploadImage
(2)接口(上传接口(本地化方式))
先简单写一个文件上传接口利用Express和multer结合的方式
js
// 文件上传
const upload = multer({ dest: 'uploads/' });
app.post('/api/upload', upload.single('file'), (req, res) => {// 获取上传的文件信息const file = req.file;console.log('文件传输开始!');// 如果没有文件if (!file) {return res.status(400).send('No file uploaded.');}else{res.json({code: '200',data: file,});}console.log('文件传输结束!');// 文件上传成功// res.send('File uploaded!');
});
我们可以看到返回给我们的信息如下所示
js
{"code": "200","data": {"fieldname": "file","originalname": "xxx.png","encoding": "7bit","mimetype": "image/png","filename": "xxx","path": "uploads/xxxxx","size": 920},"destination": "uploads/"
}
js
{"fieldname": "file","originalname": "äºè§æ.png","encoding": "7bit","mimetype": "image/png","destination": "uploads/","filename": "7950ae1ffedebb0087259e6bff0d2a44","path": "uploads\\7950ae1ffedebb0087259e6bff0d2a44","size": 920
}图片上传成功了,但是很显然跟我们期待的还有区别,还没拿到文件路径和存储进数据库
(3)利用 Express 托管图片静态地址
访问图片的静态地址,需要设置静态文件目录,以便访问上传的头像文件
js
// 设置静态文件目录,以便访问上传的头像文件
app.use(express.static(path.join(__dirname, 'uploads')));这个时候我们启动却发现__dirname is not defined一直报错这个,分析发现:
在模块中直接使用__dirname,可能会导致错误。可以通过使用import.meta.url来替代__dirname,并使用Node.js的fileURLToPath函数将其转换为本地文件路径。
更正以后我们代码修改为:
js
import { fileURLToPath } from 'url';
import { dirname, join } from 'path';
const __dirname = dirname(fileURLToPath(import.meta.url));// 文件上传
const upload = multer({ dest: 'uploads' });
app.post('/api/uploadImage', upload.single('file'), (req, res) => {console.log('文件传输开始!');  // 获取上传的文件信息const file = req.file;// 如果没有文件if (!file) {return res.status(400).send('No file uploaded.');}else{res.json({code: '200',data: file,path:"http://localhost:${PORT}+/uploads/+req.file.filename",});}console.log('文件传输结束!');// 文件上传成功// res.send('File uploaded!');
});
结果报错,返回的文件路径错误。
于是我更改了文件更加简单的存储方式:
js
app.use('/public', express.static('public'));根目录下新建public文件夹,下面随意写一个index.html 文件
关闭我们的token接口认证情况下进行访问:
js
"http://localhost:8888/public/index.html"这回我们已经可以访问到我们的文件地址:
访问这个地址localhost:8888/public/index.html,然后得到下面的信息:
JS
<html>
<meta http-equiv="Content-Type" content="text/html;charset=UTF-8" />
<title>请上传您的文件</title>
<head>
</head>
<body>
我是pubclic-html文件
</body>
</html>
(4) 配制接口上传
javascript
const upload = multer({dest: 'uploads/',},);
app.post('/api/uploadImage', upload.single('file'), (req, res) => {// 获取上传的文件信息const file = req.file;// 如果没有文件if (!file) {return res.status(400).send('No file uploaded.');}else{res.json({code: '200',data: file,path:`http://localhost:${PORT}`+'/uploads/'+req.file.filename,});}// 文件上传成功// res.send('File uploaded!');
});结果我们访问的图片为path: "http://localhost:8888/uploads/3d1b7af686a6fb40fe906e29292dedb7"很明显,这个文件的后缀格式都错误了!
这里有个坑,需要采用设置存储引擎的方式
正确的方式应该这样子
JS
// 设置存储引擎
const storage = multer.diskStorage({destination: function (req, file, cb) {cb(null, 'uploads/');},filename: function (req, file, cb) {cb(null, file.fieldname + '-' + Date.now() + path.extname(file.originalname));}
});// 配置Multer
const upload = multer({ storage: storage });
// 设置静态文件路径
app.use(express.static('uploads'));// 处理文件上传的路由
app.post('/api/uploadImage', upload.single('file'), (req, res) => {// 获取上传的文件信息const file = req.file;// 如果没有文件if (!file) {return res.status(400).send('No file uploaded.');}else{res.json({code: '200',data: file,path:`http://localhost:${PORT}`+'/uploads/'+req.file.filename,});}console.log('文件传输结束!');// 文件上传成功
});
这个时候我们对发现返回的path路径以及数据进行查看
js
{"code": "200","data": {"fieldname": "file","originalname": "a-pegBæEp.png","encoding": "7bit","mimetype": "image/png","filename": "file-1714035558736.png","path": "http://localhost:8888/uploads/file-1714035558736.png","size": 920},"destination": "uploads/"
}
打开返回的地址我们进行查看
http://localhost:8888/uploads/file-1714035736147.png
这个时候发现给我们返回了一串数据,如下图(这个就是我们想要的数据流)

把地址放置img地址上进行查看,图片已经正常显示:
已经可以正常显示我们的图片

优化一下,完美使用本地图片接口!
❤Node14-文件上传接口
写完了图片上传接口以后,简单修改就可以作为我们的文件上传接口使用了,接下来我们完整看看需要哪些部分。
1、文件上传导入
javascript
import multer from 'multer'
import { fileURLToPath } from 'url';
import path,{ dirname, join } from 'path';2、设置文件存储引擎
// 设置存储引擎
javascript
const storage = multer.diskStorage({destination: function (req, file, cb) {cb(null, 'uploads/');},filename: function (req, file, cb) {cb(null, file.fieldname + '-' + Date.now() + path.extname(file.originalname));}
});3、配置静态文件目录
这里配置主要是配置Multer和设置静态文件路径
javascript
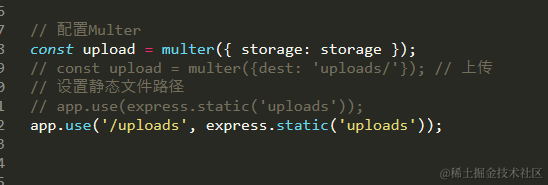
// 配置Multer
const upload = multer({ storage: storage });
// const upload = multer({dest: 'uploads/'}); // 上传// 设置静态文件路径
// app.use(express.static('uploads'));
app.use('/uploads', express.static('uploads'));4、定义文件上传接口
// 处理文件上传
javascript
// 处理文件上传
app.post('/api/upload', upload.single('file'), (req, res) => {// 获取上传的文件信息const file = req.file;if (!file) {return res.status(400).send('No file uploaded.');}else{res.json({code: '200',data: file,url:`http://localhost:${PORT}`+'/uploads/'+req.file.filename,});}
});
url进行拼接文件路径以及拼接的文件名称 (这里不知道为啥一直影响所以只能把这个放下面)
url:
http://localhost:${PORT}+'/uploads/'+req.file.filename,
直接测试我们的接口地址http://localhost:8888/api/upload
返回数据如下:
javascript
{"fieldname": "file","originalname": "123.xlsx","encoding": "7bit","mimetype": "application/vnd.openxmlformats-officedocument.spreadsheetml.sheet","destination": "uploads/","filename": "file-1714036800721.xlsx","path": "uploads\\file-1714036800721.xlsx","size": 9388
}
这里我们也可以略微精简一些
浏览器之中打开这个文件查看数据http://localhost:8888/uploads/file-1714036800721.xlsx

OK!返回数据毫无问题!
5、优化一下完善token
接下来加上我们的token认证接口,把之前的token认证接口放开,这个时候你就知道为什么一开始我去掉token了
这个时候我们拿node写图片和文件上传接口就遇到一个问题,如果我加了接口的token验证,然后我的图片上传以后本地的路径访问就需要token授权,这种情况如何解决呢?
我们返回的图片路径如图所示:

然而我们的图片却不显示

直接在浏览器访问

思考:
我们一开始将我们的uploads文件作为我们的静态文件目录,添加token认证以后,无法访问

那我们是不是可以排除掉所有包含uploads接口达到排除呢?
正则完善一下我们的expressjwt排除接口
plain
  expressJWT.expressjwt({ secret: secretKey, algorithms: ["HS256"] }).unless({// path: [/^\/api\//],path: ['/','/api/login','/api/register','/api/resetPwd','/api/user','/api/upload','/api/uploadImage',`/api/uploadImage:id`,],// 排除所有包含uploads的路径custom: (req) => {return req.originalUrl.includes('/uploads');}})
);
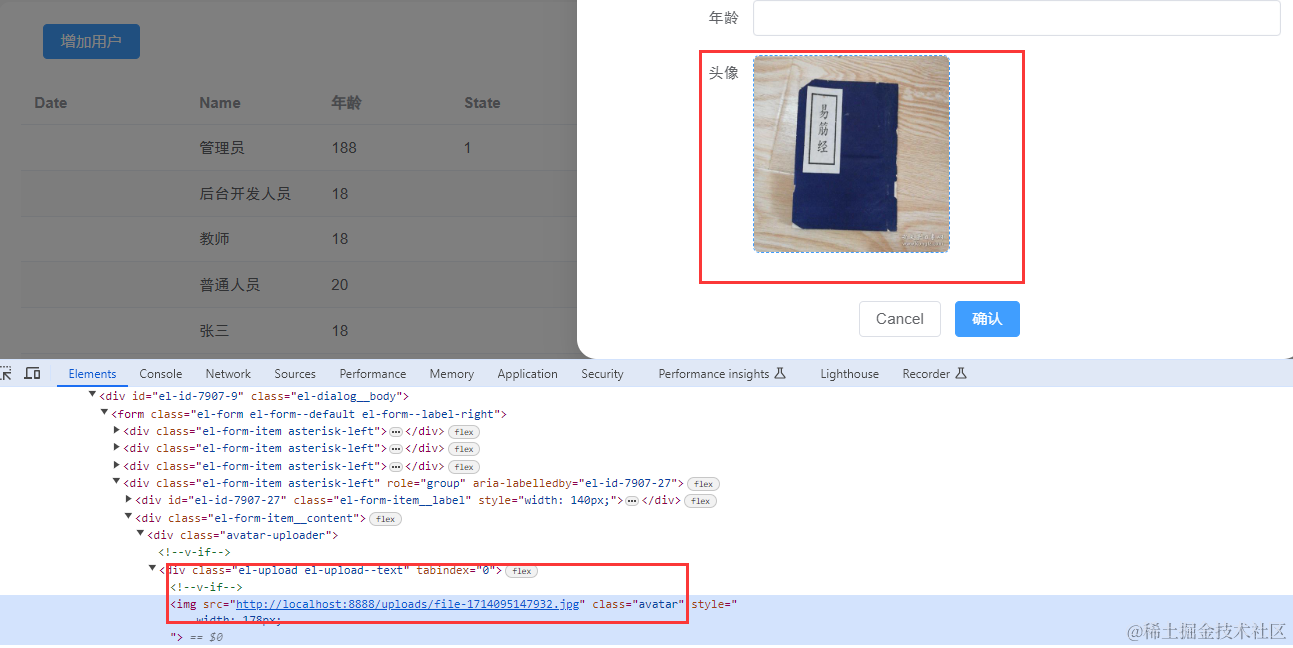
这个时候我们的图片静态确实没问题了!

思考:
这样同样也会给我们上传接口带来不安全的因素,于是我们排除一下上传的接口以外的其他接口需要token(也就是排除排除除了接口'/api/uploadImage'和'/api/upload'以外其他里面携带'/uploads'字符串的请求)
是不是我们还可以用其他方式完善:
expressJWT.expressjwt({ secret: secretKey, algorithms: ["HS256"] }).unless({}) 这段代码的使用中如何排除所有接口里面携带'/uploads'字符串并且为get的请求?
javascript
expressJWT.expressjwt({ secret: secretKey, algorithms: ["HS256"] }).unless({
// 排除除了'/api/uploadImage'和'/api/upload'以外的其他路径且包含/uploads的请求
custom: (req) => { return !['/api/uploadImage', '/api/upload'].includes(req.originalUrl) && req.originalUrl.includes('/uploads'); } })
再次验证,毫无问题
再优化一下,排除post以外的,因为请求路径其实是get
javascript
custom: (req) => {return req.method !== 'POST' && req.originalUrl.includes('/uploads');}再次验证,已生效!
6、优化文件存储位置
根据每天的日期在uploads创建文件夹进行存储,并将图片存储在日期下的img文件夹中,其他文件存储在日期下的file文件夹中,我们可以使用multer的diskStorage选项来定义自定义的文件存储设置。
有文件夹直接放,没文件夹则进行创建
最后我们的存储引擎就变成了这个样子3
设置存储引擎
获取当前日期
设置文件存储路径
javascript
设置存储引擎
const storage = multer.diskStorage({destination: (req, file, cb) => {// cb(null, 'uploads/');// 获取当前日期const date = new Date();const year = date.getFullYear();const month = (date.getMonth() + 1).toString().padStart(2, '0');const day = date.getDate().toString().padStart(2, '0');const dateString = `${year}-${month}-${day}`;// 设置文件存储路径let destination;if (file.mimetype.startsWith('image/')) {destination = `uploads/${dateString}/img`;} else {destination = `uploads/${dateString}/file`;}// 判断目录是否存在,不存在则创建fs.access(destination, (error) => {if (error) {fs.mkdirSync(destination, { recursive: true });}cb(null, destination);});// 创建文件夹// fs.mkdirSync(destination, { recursive: true });cb(null, destination);},filename: (req, file, cb) => {// 设置文件名为原始文件名cb(null, file.originalname);cb(null, file.fieldname + '-' + Date.now() + path.extname(file.originalname));}
});
完美收工!


