✨ Blog’s 主页: 白乐天_ξ( ✿>◡❛)
🌈 个人Motto:他强任他强,清风拂山冈!
💫 欢迎来到我的学习笔记!

制作数据集
Labelme 数据集
- 数据集选用自己标注的,可参考以下:
['c17', 'c5', 'helicopter', 'c130', 'f16', 'b2',
'other', 'b52', 'kc10', 'command', 'f15', 'kc135', 'a10',
'b1', 'aew', 'f22', 'p3', 'p8', 'f35', 'f18', 'v22', 'f4',
'globalhawk', 'u2', 'su-27', 'il-38', 'tu-134', 'su-33',
'an-70', 'su-24', 'tu-22', 'il-76']
格式转换
- 将 Labelme 数据集转为 yolov8 格式的数据集,转换代码如下:
import os
import shutilimport numpy as np
import json
from glob import glob
import cv2
from sklearn.model_selection import train_test_split
from os import getcwddef convert(size, box):dw = 1. / (size[0])dh = 1. / (size[1])x = (box[0] + box[1]) / 2.0 - 1y = (box[2] + box[3]) / 2.0 - 1w = box[1] - box[0]h = box[3] - box[2]x = x * dww = w * dwy = y * dhh = h * dhreturn (x, y, w, h)def change_2_yolo5(files, txt_Name):imag_name = []for json_file_ in files:json_filename = labelme_path + json_file_ + ".json"out_file = open('%s/%s.txt' % (labelme_path, json_file_), 'w')json_file = json.load(open(json_filename, "r", encoding="utf-8"))# image_path = labelme_path + json_file['imagePath']imag_name.append(json_file_ + '.jpg')height, width, channels = cv2.imread(labelme_path + json_file_ + ".jpg").shapefor multi in json_file["shapes"]:points = np.array(multi["points"])xmin = min(points[:, 0]) if min(points[:, 0]) > 0 else 0xmax = max(points[:, 0]) if max(points[:, 0]) > 0 else 0ymin = min(points[:, 1]) if min(points[:, 1]) > 0 else 0ymax = max(points[:, 1]) if max(points[:, 1]) > 0 else 0label = multi["label"].lower()if xmax <= xmin:passelif ymax <= ymin:passelse:cls_id = classes.index(label)b = (float(xmin), float(xmax), float(ymin), float(ymax))bb = convert((width, height), b)out_file.write(str(cls_id) + " " + " ".join([str(a) for a in bb]) + '\n')# print(json_filename, xmin, ymin, xmax, ymax, cls_id)return imag_namedef image_txt_copy(files, scr_path, dst_img_path, dst_txt_path):""":param files: 图片名字组成的list:param scr_path: 图片的路径:param dst_img_path: 图片复制到的路径:param dst_txt_path: 图片对应的txt复制到的路径:return:"""for file in files:img_path = scr_path + fileprint(file)shutil.copy(img_path, dst_img_path + file)scr_txt_path = scr_path + file.split('.')[0] + '.txt'shutil.copy(scr_txt_path, dst_txt_path + file.split('.')[0] + '.txt')if __name__ == '__main__':classes = ['c17', 'c5', 'helicopter', 'c130', 'f16', 'b2','other', 'b52', 'kc10', 'command', 'f15', 'kc135', 'a10','b1', 'aew', 'f22', 'p3', 'p8', 'f35', 'f18', 'v22', 'f4','globalhawk', 'u2', 'su-27', 'il-38', 'tu-134', 'su-33','an-70', 'su-24', 'tu-22', 'il-76']# 1.标签路径labelme_path = "USA-Labelme/"isUseTest = True  # 是否创建test集# 3.获取待处理文件files = glob(labelme_path + "*.json")files = [i.replace("\\", "/").split("/")[-1].split(".json")[0] for i in files]for i in files:print(i)trainval_files, test_files = train_test_split(files, test_size=0.1, random_state=55)# splittrain_files, val_files = train_test_split(trainval_files, test_size=0.1, random_state=55)train_name_list = change_2_yolo5(train_files, "train")print(train_name_list)val_name_list = change_2_yolo5(val_files, "val")test_name_list = change_2_yolo5(test_files, "test")# 创建数据集文件夹。file_List = ["train", "val", "test"]for file in file_List:if not os.path.exists('./VOC/images/%s' % file):os.makedirs('./VOC/images/%s' % file)if not os.path.exists('./VOC/labels/%s' % file):os.makedirs('./VOC/labels/%s' % file)image_txt_copy(train_name_list, labelme_path, './VOC/images/train/', './VOC/labels/train/')image_txt_copy(val_name_list, labelme_path, './VOC/images/val/', './VOC/labels/val/')image_txt_copy(test_name_list, labelme_path, './VOC/images/test/', './VOC/labels/test/')
- 运行完成后就得到了
yolov8格式的数据集。
本地调试
- 下载与安装
● Github: GitHub - ultralytics/ultralytics: NEW - YOLOv8 🚀 in PyTorch > ONNX > OpenVINO > CoreML > TFLite
● 也可以直接使用命令行:pip install。
● 下载到本地后解压,将生成的yolo数据集放到datasets(需要创建datasets 文件夹)文件夹下面,如下图:

- 安装库文件
- 安装必要的库文件,安装命令:
pip install opencv-pythonpip install numpy==1.23.5pip install pyyamlpip install tqdmpip install matplotlib
- 注意
numpy的版本,如果是 2.0 以上版本一定要把版本降下来。
- 创建配置文件
- 在根目录新建
VOC.yaml文件,添加内容:
train:./VOC/images/train # train images
val:./VOC/images/val # val images
test:./VOC/images/test # test images (optional)names: ['c17', 'c5', 'helicopter', 'c130', 'f16', 'b2','other', 'b52', 'kc10', 'command', 'f15', 'kc135', 'a10','b1', 'aew', 'f22', 'p3', 'p8', 'f35', 'f18', 'v22', 'f4','globalhawk', 'u2', 'su-27', 'il-38', 'tu-134', 'su-33','an-70', 'su-24', 'tu-22', 'il-76']
- 创建训练脚本:
- 新建
train.py,在train.py添加代码:
from ultralytics import YOLO
if __name__ == '__main__':# 加载模型model = YOLO("ultralytics/cfg/models/v8/yolov8l.yaml")  # 从头开始构建新模型print(model.model)# Use the modelresults = model.train(data="VOC.yaml", epochs=100, device='0', batch=16, workers=0)  # 训练模型
- 点击
run开始运行train.py进行训练。
实时目标检测代码实现
以下是一个使用 Python 和 OpenCV 实现实时目标检测的示例代码:
import cv2
from ultralytics import YOLO# 加载模型
model = YOLO('your_model_path.pt')  # 替换为你的模型路径# 打开摄像头
cap = cv2.VideoCapture(0)  # 0 表示默认摄像头,如果有多个摄像头可以调整这个参数while True:# 读取一帧图像ret, frame = cap.read()if not ret:break# 进行目标检测results = model(frame)# 在图像上绘制检测结果annotated_frame = results[0].plot()# 显示图像cv2.imshow('Real-time Object Detection', annotated_frame)# 按下 'q' 键退出循环if cv2.waitKey(1) & 0xFF == ord('q'):break# 释放摄像头和关闭窗口
cap.release()
cv2.destroyAllWindows()
基于丹摩智算的训练
创建一个实例,这个在我之前发布的与丹摩平台关联的文章很详细地提到过,可以跳转学习:【链接】
- 首先创建账号,登录;
- 然后点击
CPU云实例,开始创建实例; - 选择付费类型;
- 选择实力配置;
- 配置数据盘;
- 选择镜像Pytorch;
- 创建密钥对;
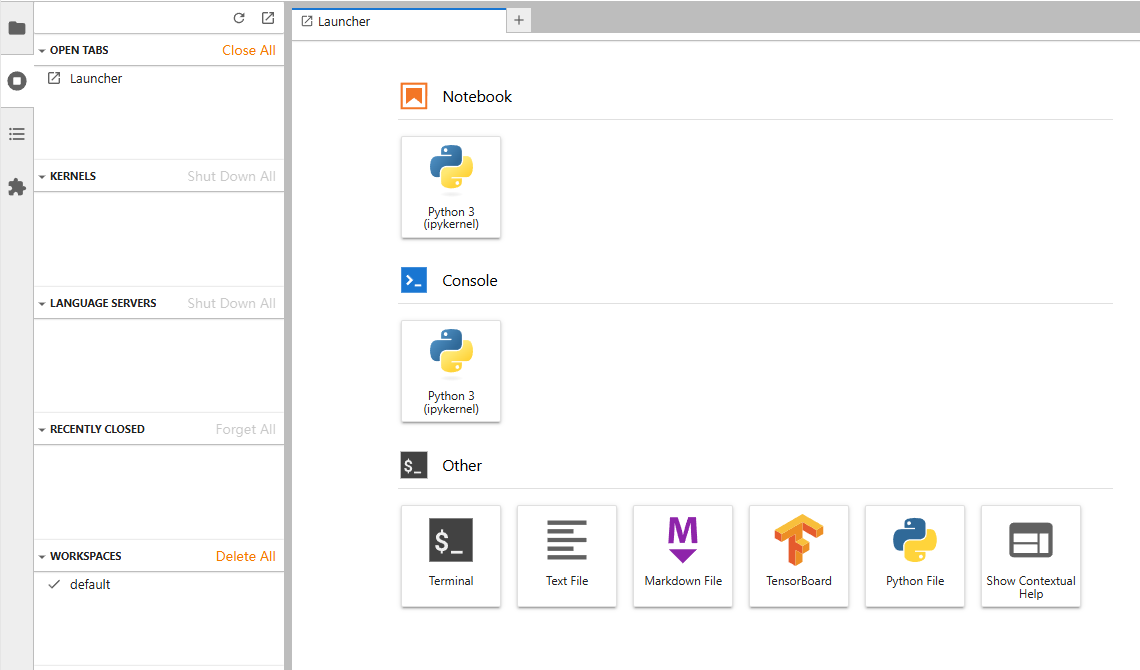
实例创建完后,就点击
JupyterLab进入控制台。
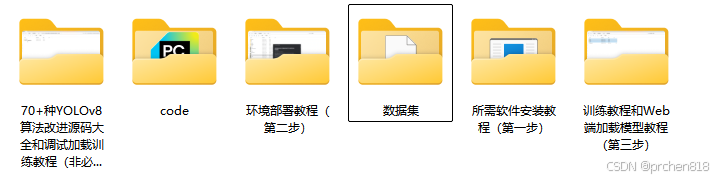
然后将我们刚才创建的工程压缩成 zip 的压缩包,等待上传。


点击,文件夹样子的标签,进入根目录,然后点击
↑,进入上传文件的页面。
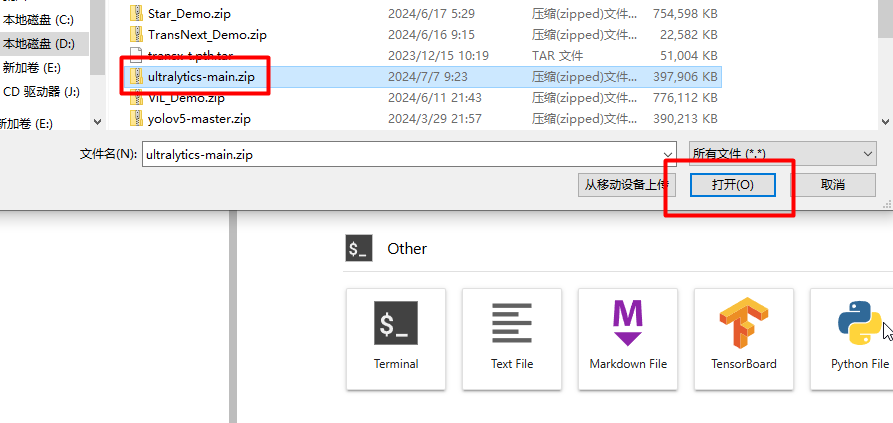
选择文件,点击打开。
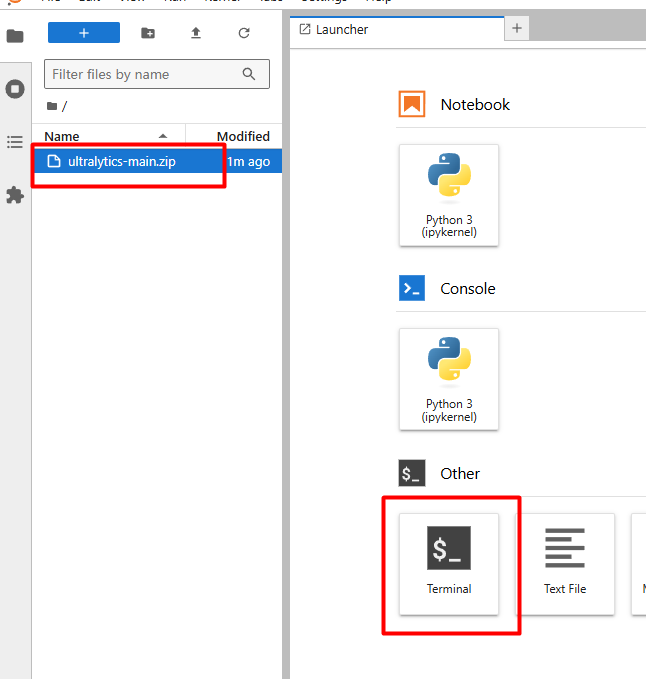
上传完成后,点击Termina就可以进入我们熟悉的命令行界面。
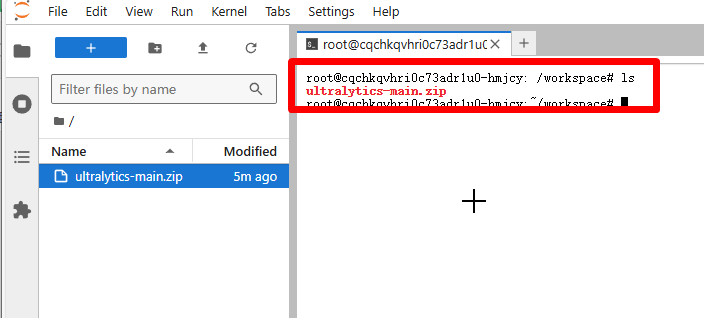
输入 ls,就可以看到我们刚才上传的压缩包。然后输入:
unzip ultralytics-main.zip
解压!
解压后就可以在左侧的目录中看到解压后的文件夹。点击进入。
点击train.py,Open With→Editor。
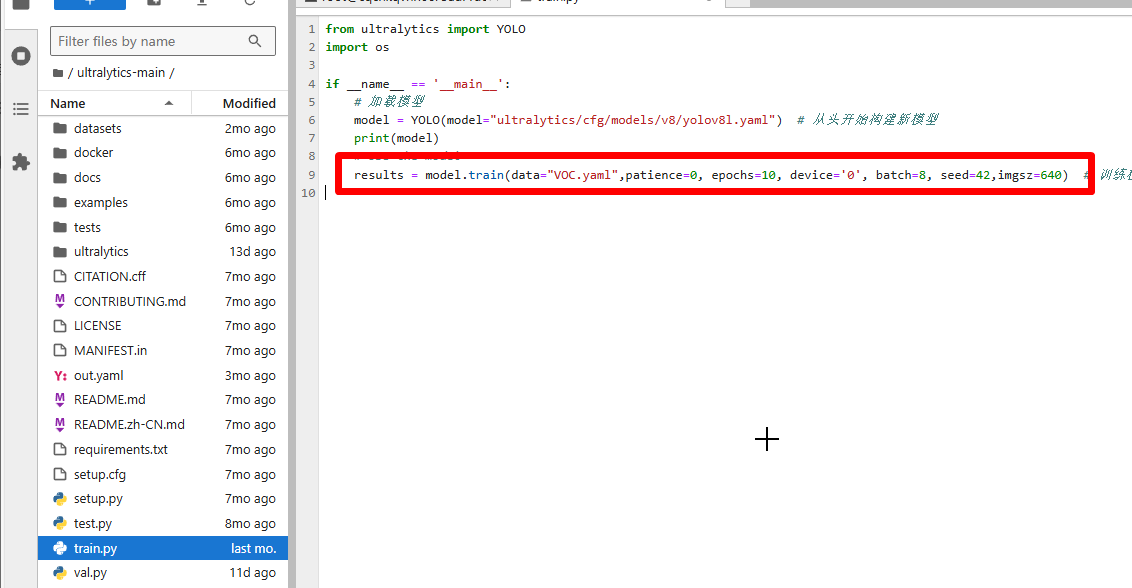
打开 train.py 后就可以修改 train.py 里面的参数了。
pip install opencv-python

通过以上步骤,你可以成功地进行 YoloV8 的训练和测试。无论是在本地还是基于丹摩智算平台,都能根据自己的需求进行模型的训练和优化。
在训练过程中,需要注意以下几点:
一、数据准备
- 确保标注的数据集准确无误,类别清晰明确。这将直接影响模型的训练效果和准确性。
- 在格式转换过程中,仔细检查转换后的数据集是否符合 YoloV8 的格式要求,避免出现错误。
二、参数调整
- 在本地调试和基于丹摩智算的训练中,可以根据实际情况调整训练参数,如 epochs(训练轮数)、batch(批大小)、device(使用的设备)等。不同的参数组合可能会对训练时间和模型性能产生影响。
- 对于复杂的数据集或特定的任务,可以尝试不同的模型架构和超参数,以获得更好的性能。
三、测试与评估
- 在测试阶段,使用不同的图像进行预测,观察模型的准确性和泛化能力。可以通过调整阈值等参数来优化预测结果。
- 对测试结果进行评估,如计算准确率、召回率、F1 值等指标,以了解模型的性能表现。
四、持续优化
- 根据测试结果和评估指标,对模型进行进一步的优化。可以尝试增加数据量、进行数据增强、调整模型结构等方法。
- 不断尝试新的技术和方法,以提高模型的性能和适用性。
总之,YoloV8 是一个强大的目标检测模型,通过合理的数据准备、参数调整和测试评估,可以获得良好的训练效果和准确的预测结果。希望本教程能够帮助你顺利地进行 YoloV8 的训练和测试,为你的目标检测任务提供有力的支持。